Key Takeaway
- Choose the correct test: PTE Academic, PTE Academic UKVI or PTE Core.
- Use Pearson’s official booking page to check live test centres, dates and times.
- Use one myPTE account. Make sure the name matches your valid passport.
- Check the test, centre, date, time and price before you pay.
- Your booking is complete only when the appointment appears in myPTE.
- You can book by yourself through Pearson or use our automated booking service.
- We let you use PTE ID and date of birth if you do not want to share your myPTE password.
This guide explains every step in simple words.
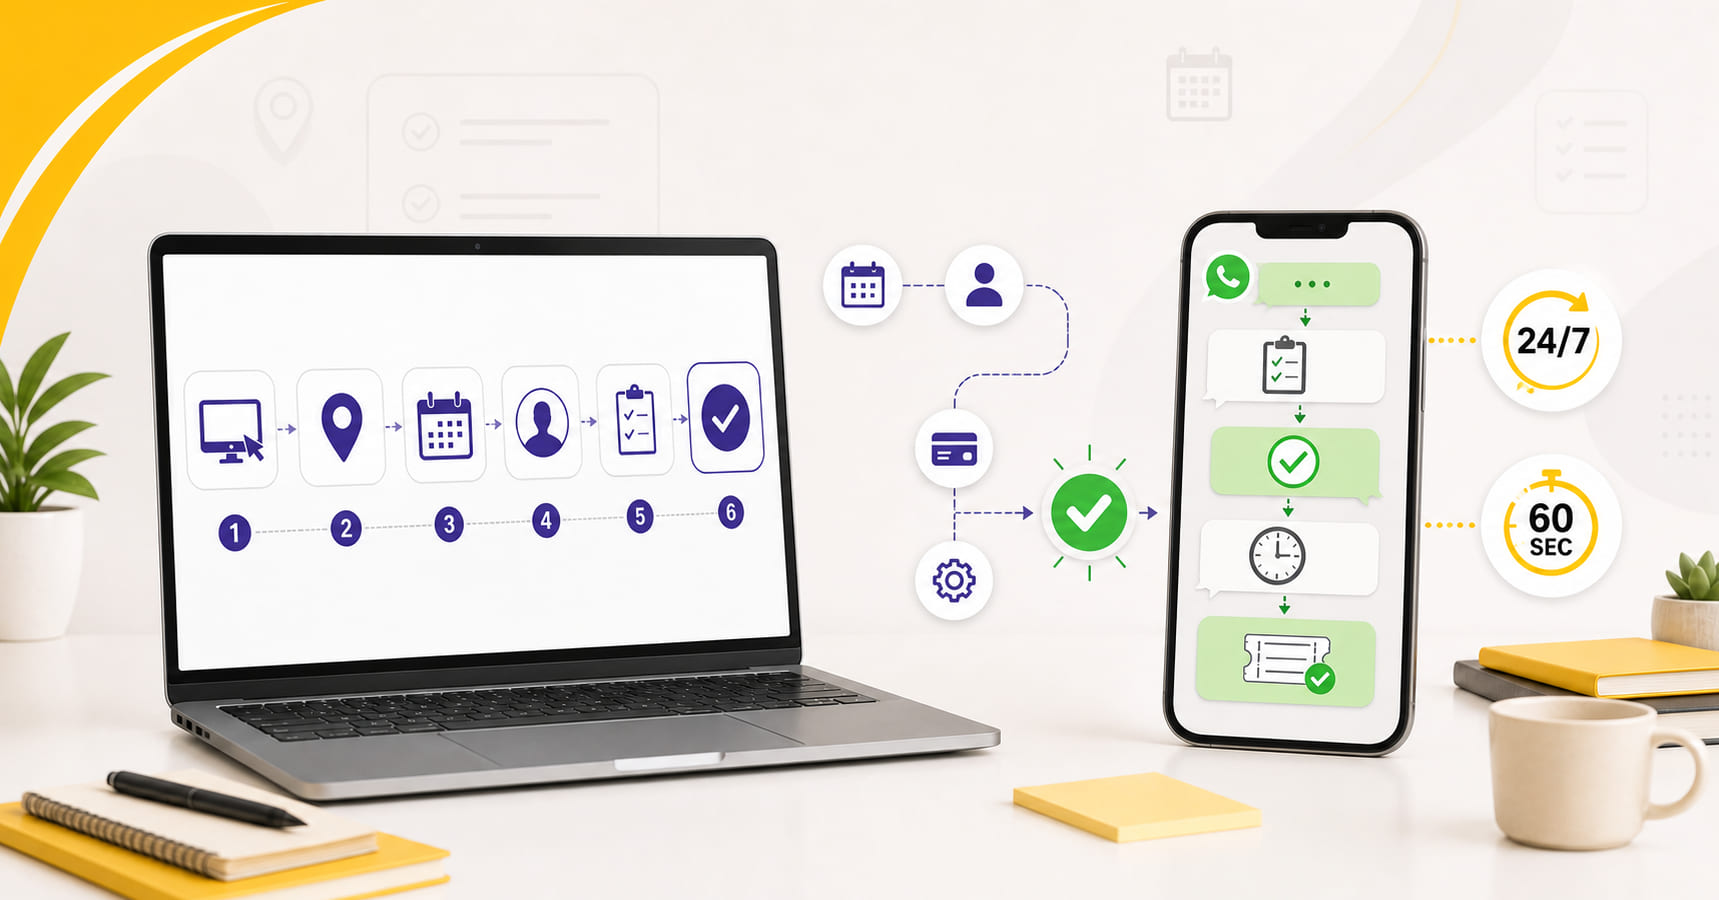
Are you ready to book your PTE exam, but not sure where to start? You are not alone. The booking screens ask you to choose a test, centre, date, account and payment method. One wrong choice can cause extra work later.
You can book a PTE exam online through Pearson’s myPTE system. This is the standard route. You choose the test and appointment, enter the candidate details, review the order and pay.
You can also use our automated PTE exam booking service if you want us to complete the booking after you submit and approve the details. This article stays focused on teaching you the complete booking process. Our pricing page explains our current packages and offers.
First, we will show you how to book through Pearson. Then we will explain our shorter automated option, common problems and the checks you should make after payment.
Which PTE Test Should I Take: PTE Academic, PTE Academic UKVI or PTE Core?
Do not begin PTE exam registration until you know which test you need. PTE Academic, PTE Academic UKVI and PTE Core have different purposes. Selecting the wrong one can waste your time and money.
PTE Academic

PTE Academic is used for global study applications, professional registration and applicable work or migration routes, including routes for Australia and New Zealand. Confirm that your university, professional body or immigration authority accepts it before booking.
PTE Academic UKVI
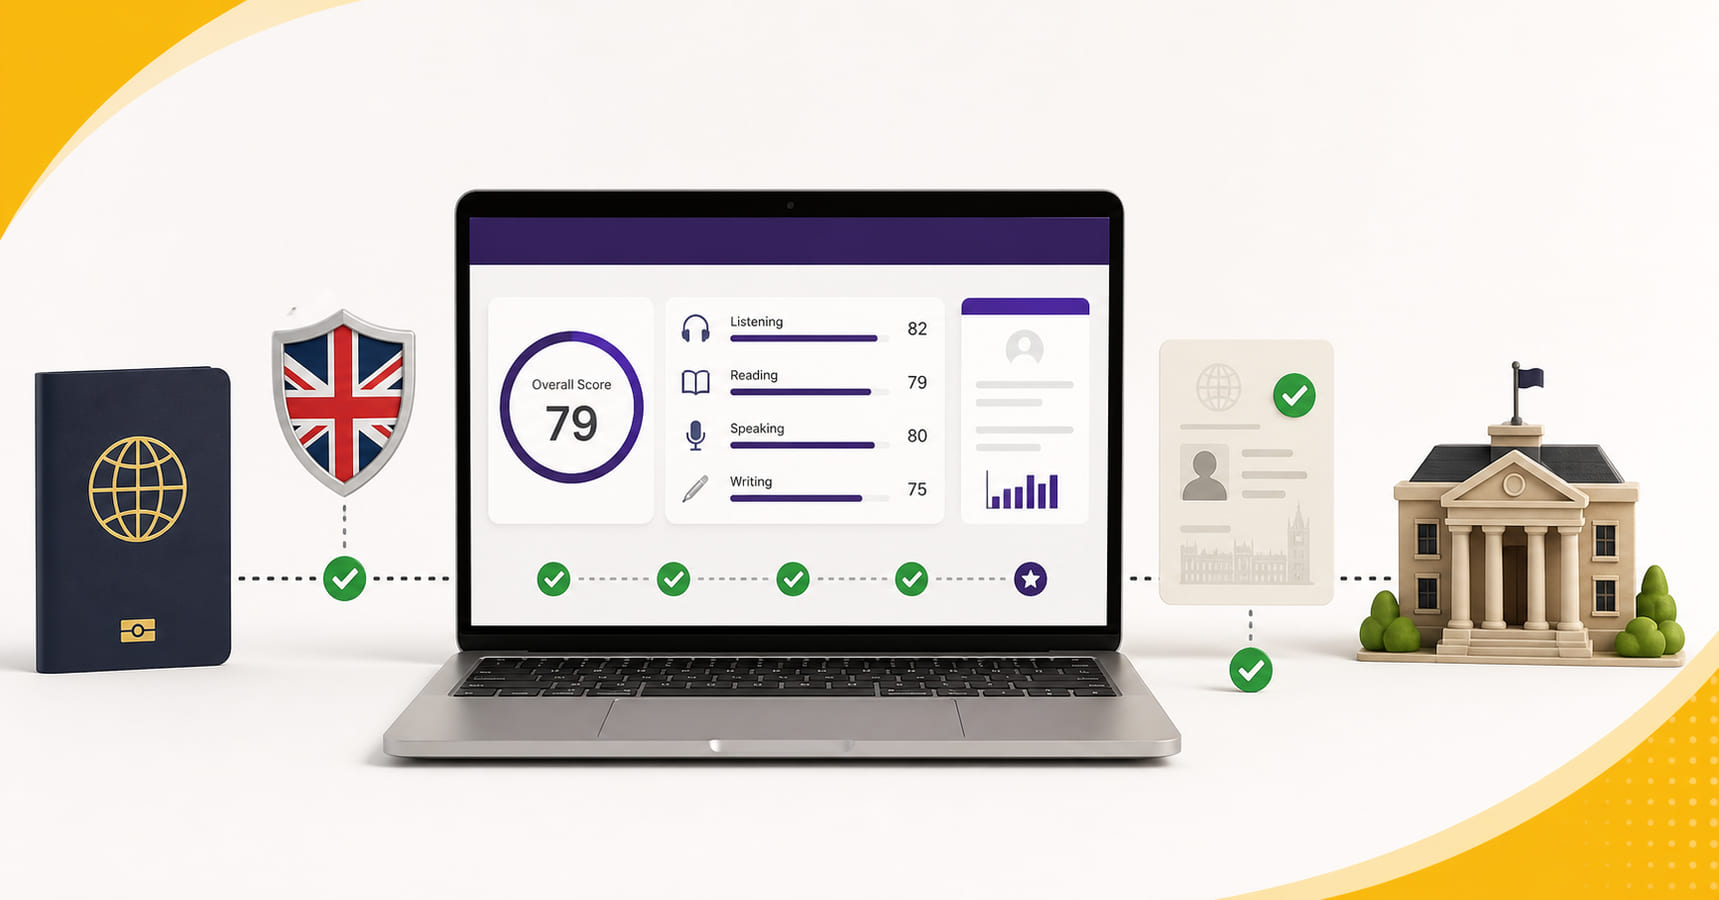
PTE Academic UKVI is a four-skill Secure English Language Test for UK visa applications that require it, including applicable work visas and study below degree level. It has the same test content as PTE Academic but provides a Unique Reference Number for the UK visa process. If your instructions specifically ask for a UKVI test, do not select standard PTE Academic by mistake.
PTE Core
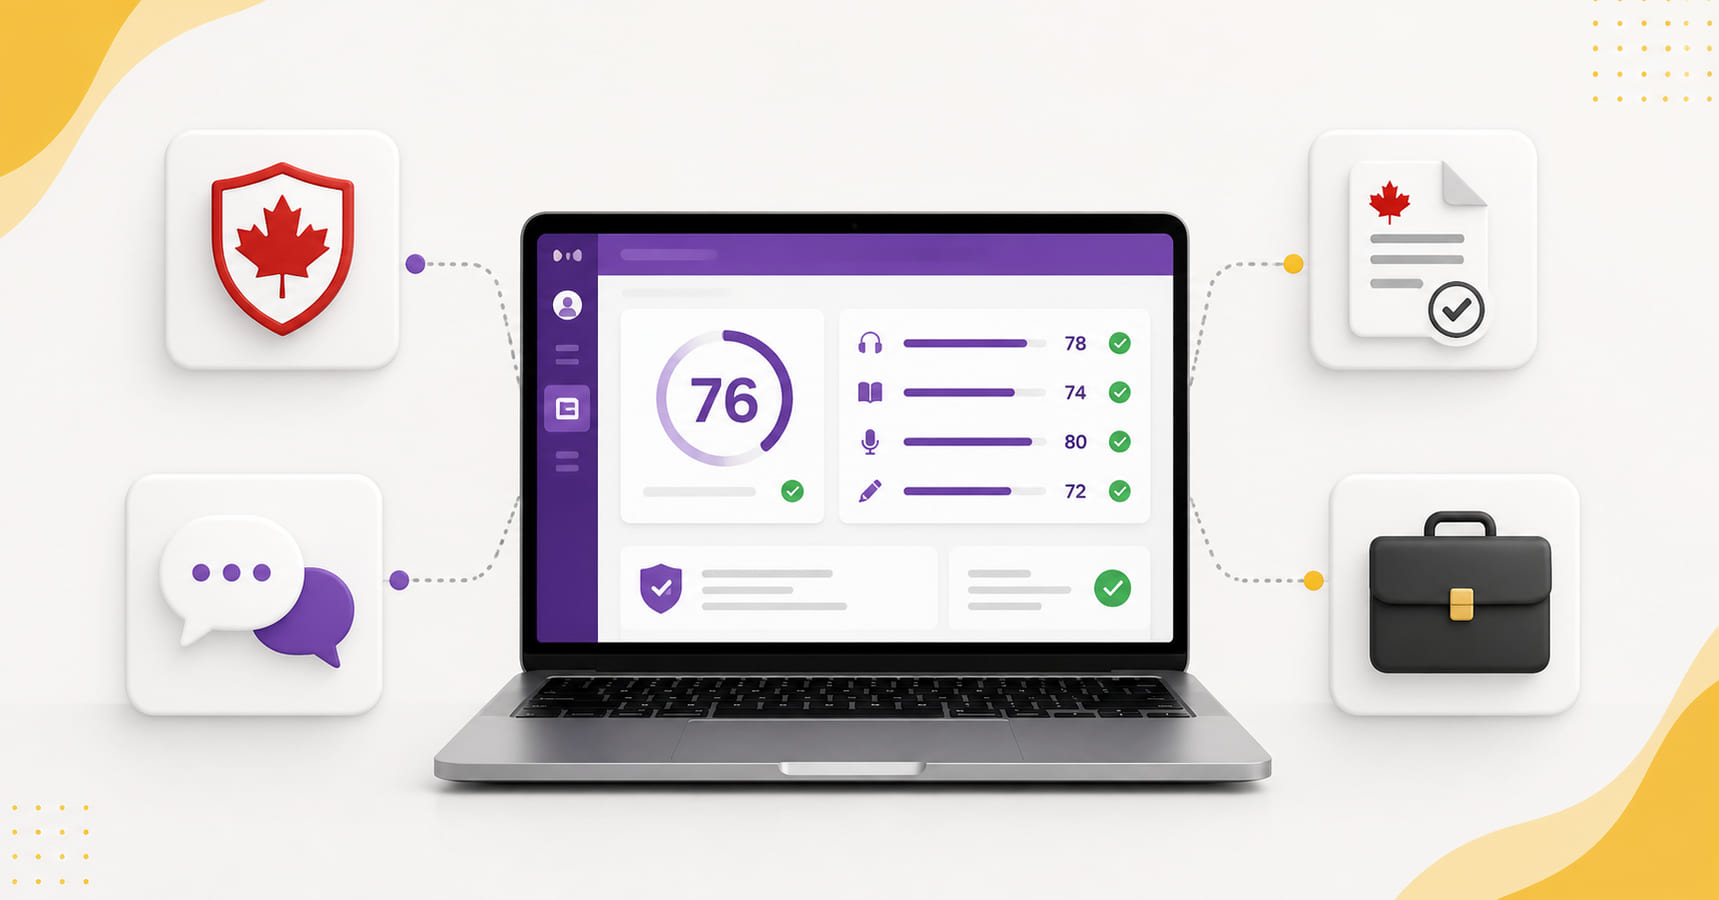
PTE Core is used for Canadian permanent-residency and citizenship applications through Immigration, Refugees and Citizenship Canada. It focuses on everyday English in general and workplace situations.
Still unsure? Check the instruction from your university, visa authority or immigration program. Pearson’s PTE test selection page shows the tests you can book. Our separate guide also explains the difference between PTE Academic, PTE Academic UKVI and PTE Core. Confirm the test before you pay.
What Details and Documents Do I Need to Book a PTE Exam?
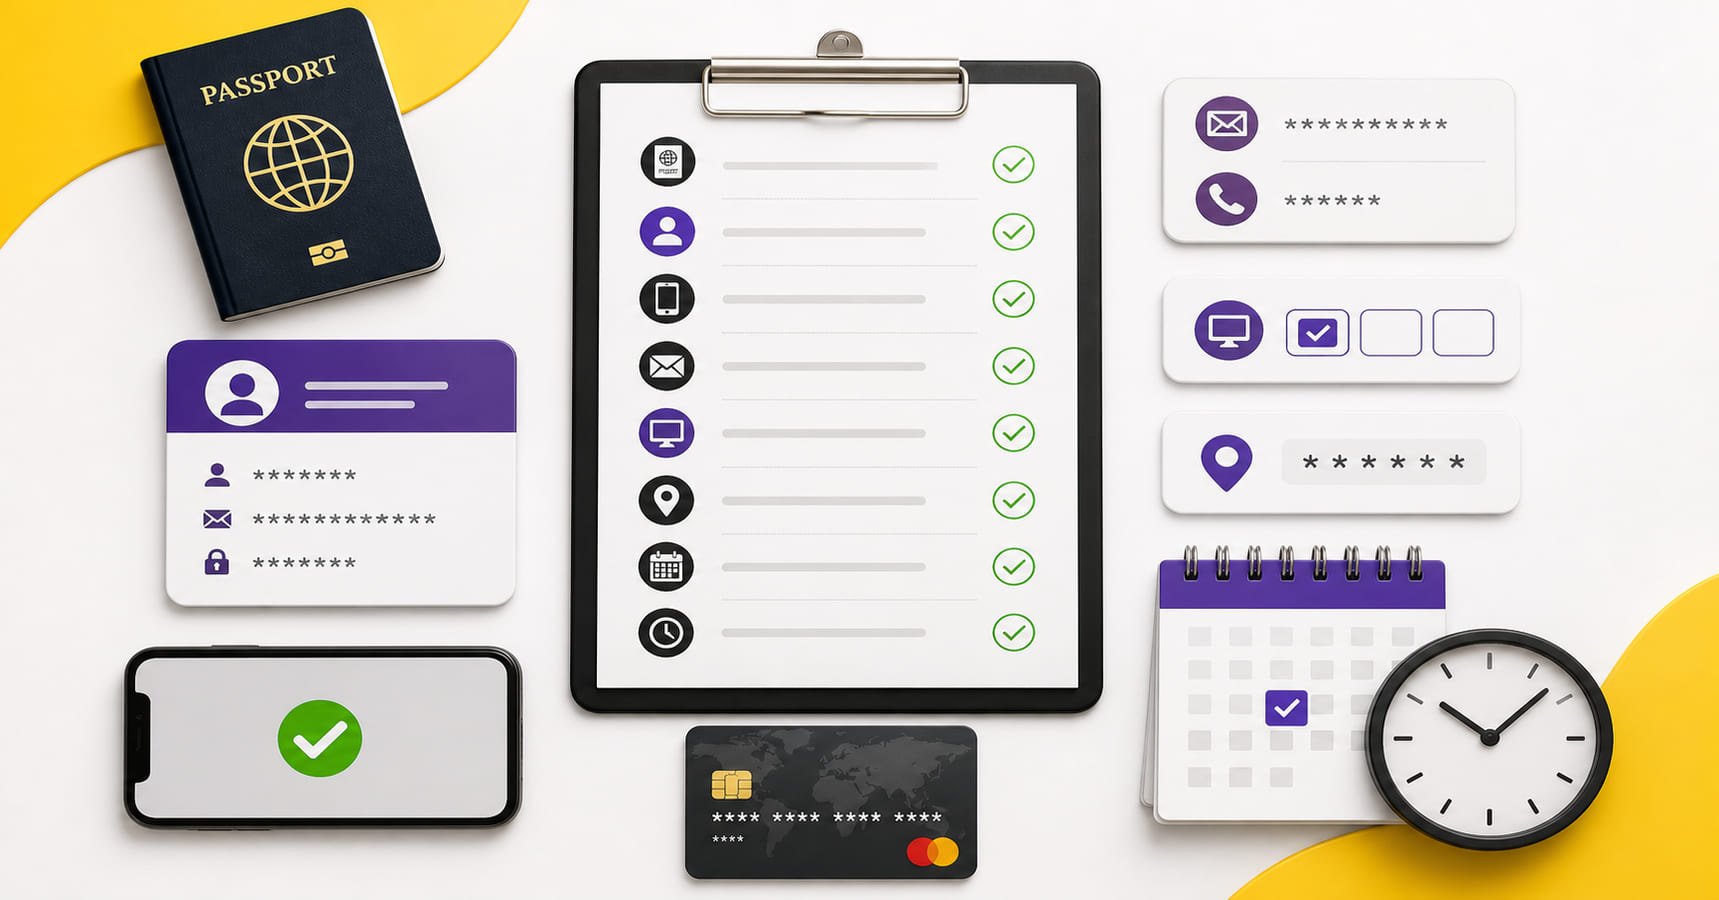
Keeping the correct information ready prevents small mistakes from slowing down your booking.
Prepare:
- The exact PTE test required for your goal
- Your preferred city and test centre
- A suitable exam date and time
- An active email address
- Your mobile number
- The candidate information required to create or access myPTE
- A valid physical passport that will remain valid on your test date
- An accepted payment method or eligible voucher
- Consent from a parent or guardian if the candidate is under 18
- Details and supporting evidence for any special accommodation you need
The most important check is your name.
Your myPTE account name must match the passport you will present on exam day. Include the correct given names, middle names and surname. Do not use a nickname or shortened version.
If your myPTE name is wrong, correct it through Pearson’s current support process before booking. Our automated system takes the candidate name from the myPTE account. It does not type or replace that name during the booking.
Read Pearson’s latest identification policy before paying if you have an exceptional identification situation or are booking a UKVI test without a passport.
If the candidate is under 18, Pearson requires consent from a parent or guardian during the booking process.
If you need a special accommodation, declare it when creating your myPTE account. Pearson will ask you to submit a request form and supporting evidence. Submit the request at least six weeks before your intended test date so there is enough time for review and approval.
How Can I Check PTE Exam Dates and Slot Availability?
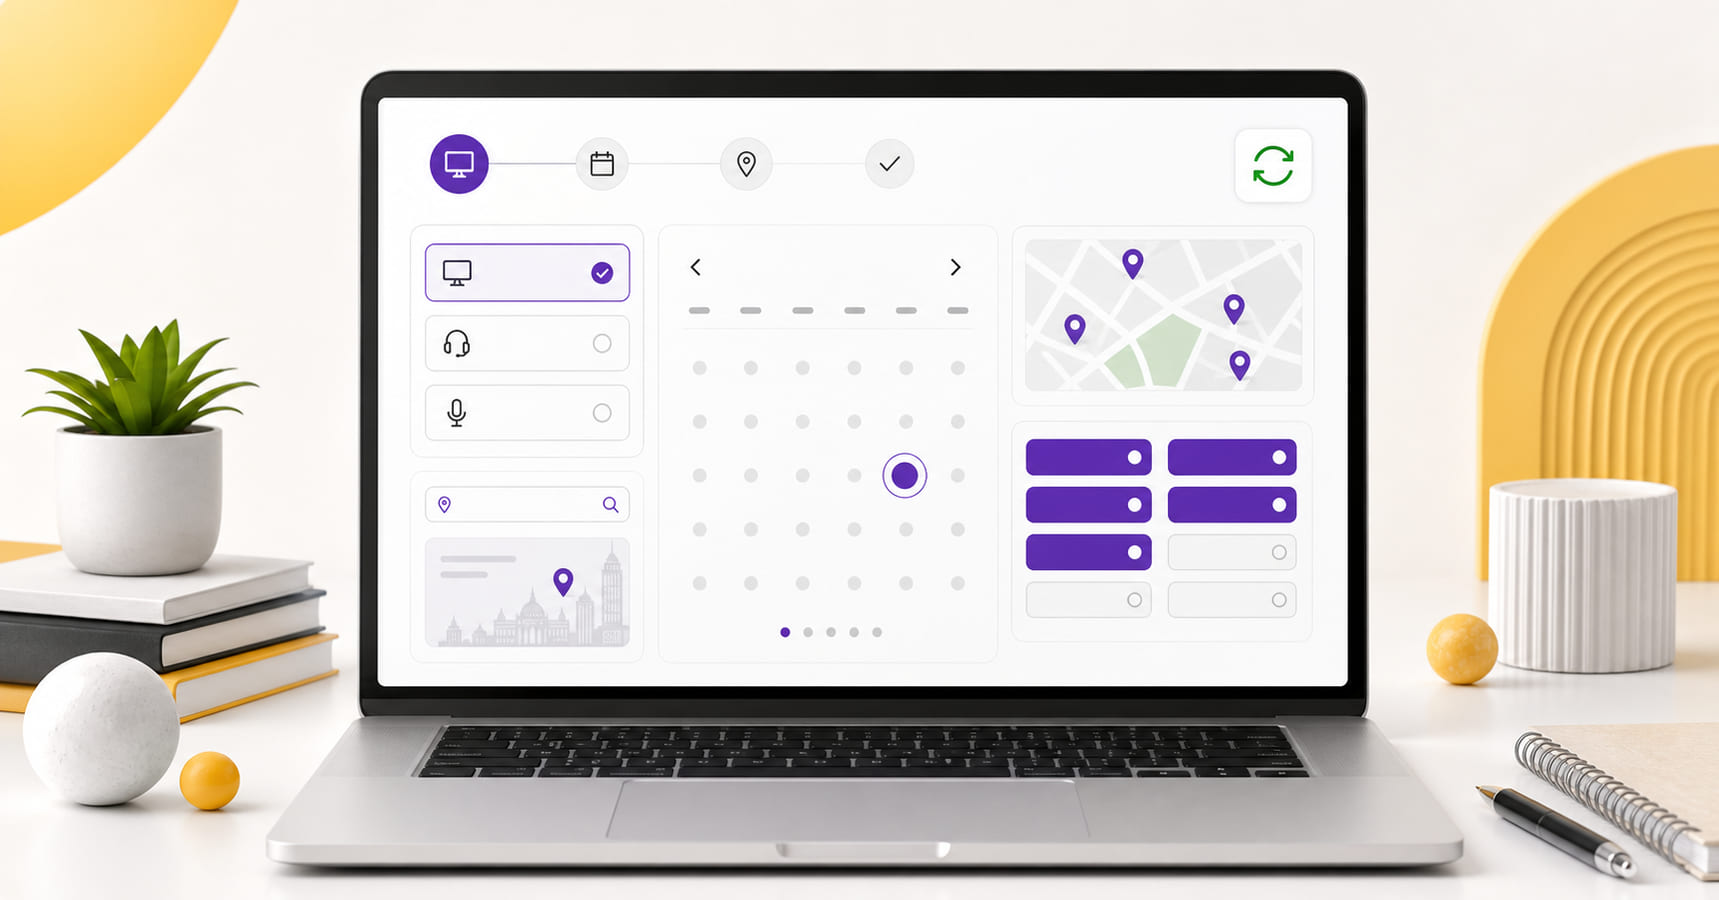
PTE tests run throughout the year, but there is no single fixed date table that works for every student. Available PTE test dates depend on the exam, city, test centre and seats available at that moment.
Pearson requires you to choose a test-centre appointment at least 24 hours in advance. This does not guarantee that every centre will have a suitable slot available, so always check the live calendar for your exact test and location.
Use the official availability link for your test:
Confirm the test name at the top of the appointment finder. Then enter your city. Pearson will show the available test centres around that location.
Do not stop after reading the city name. Check the complete centre name and address. Two centres in the same city can show different PTE exam available dates and session times.
Open the calendar beside the centre you want. Select a date and check the available time. A complete PTE slot contains all three details:
- Test centre
- Exam date
- Exam time
A visible slot is not reserved. Another candidate can book it before you complete the payment and receive confirmation. If you want a deeper walkthrough with real calendar screenshots, read our guide to checking live PTE exam dates in India.
How Do I Book a PTE Exam Online Through Pearson?
You can complete the booking through Pearson’s myPTE system. Select the required PTE test, choose an available centre, date and time, review the choice, sign in or create your account, complete the identity and booking questions, accept the policies, review the order and pay. Follow these steps in order.
Step 1: Open Pearson’s Official Booking Page
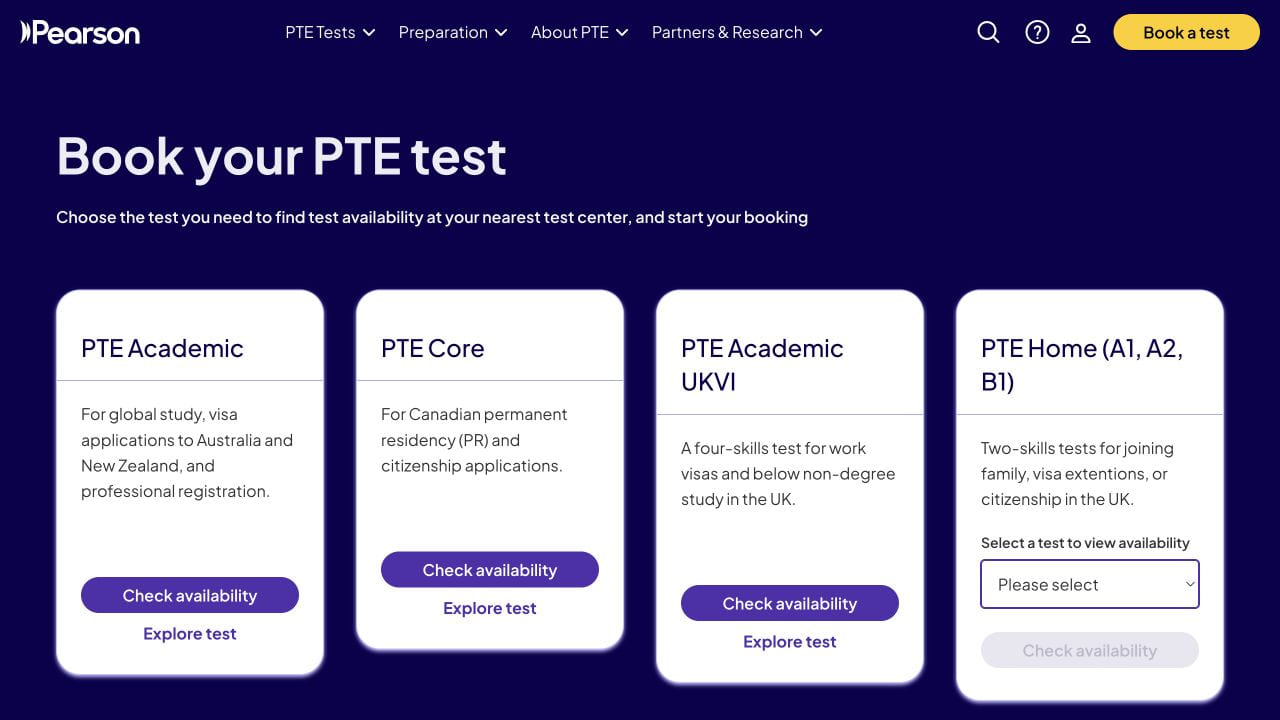
Go to the official Pearson PTE booking page. Review the available tests and select Check availability for the PTE test you need.
Always check the web address before entering account or payment information. The official booking journey should lead through Pearson’s PTE and myPTE systems.
Step 2: Find a Test Centre
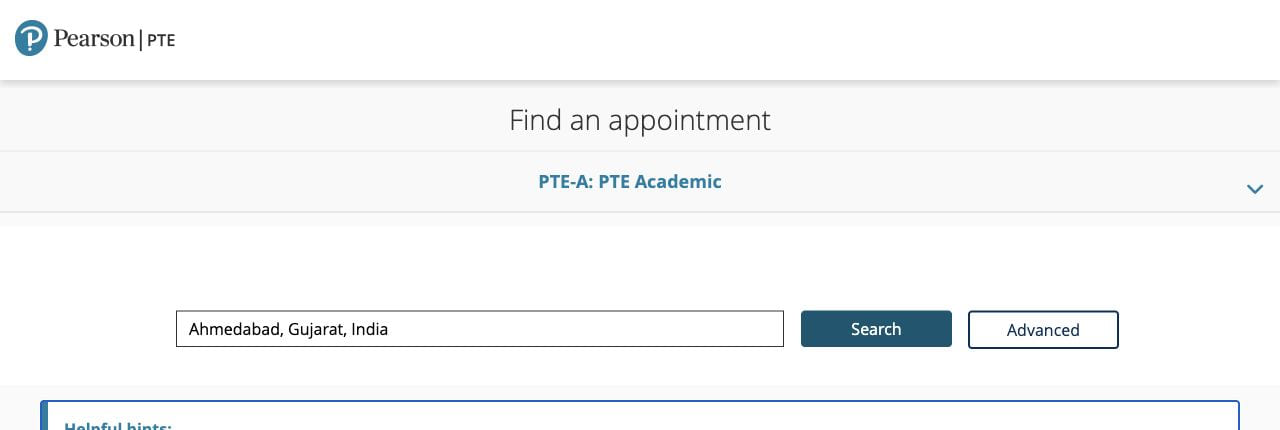
Enter the city where you want to take the exam. The appointment finder will show nearby centres with their complete names, addresses and distance from your search location.
Choose a centre you can reach comfortably on exam day. Do not select a centre only because its name looks familiar. Read the full address first.
Step 3: Choose the Date and Time
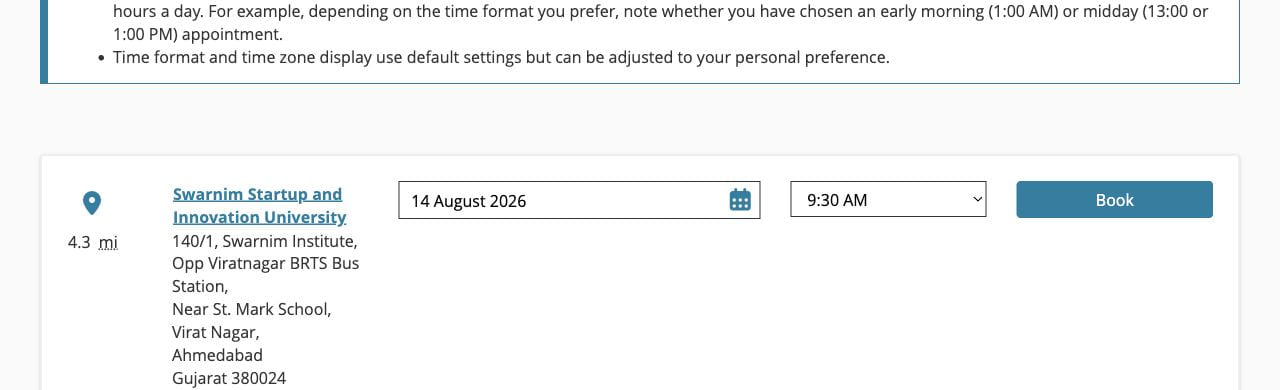
Open the calendar for the selected centre. Available dates can be selected, while unavailable dates cannot.
After selecting the date, open the time list and choose the session you want. Read AM and PM carefully. A booking at 8:00 AM is very different from one at 8:00 PM, even when the date and centre are correct.
Step 4: Review Your Choice
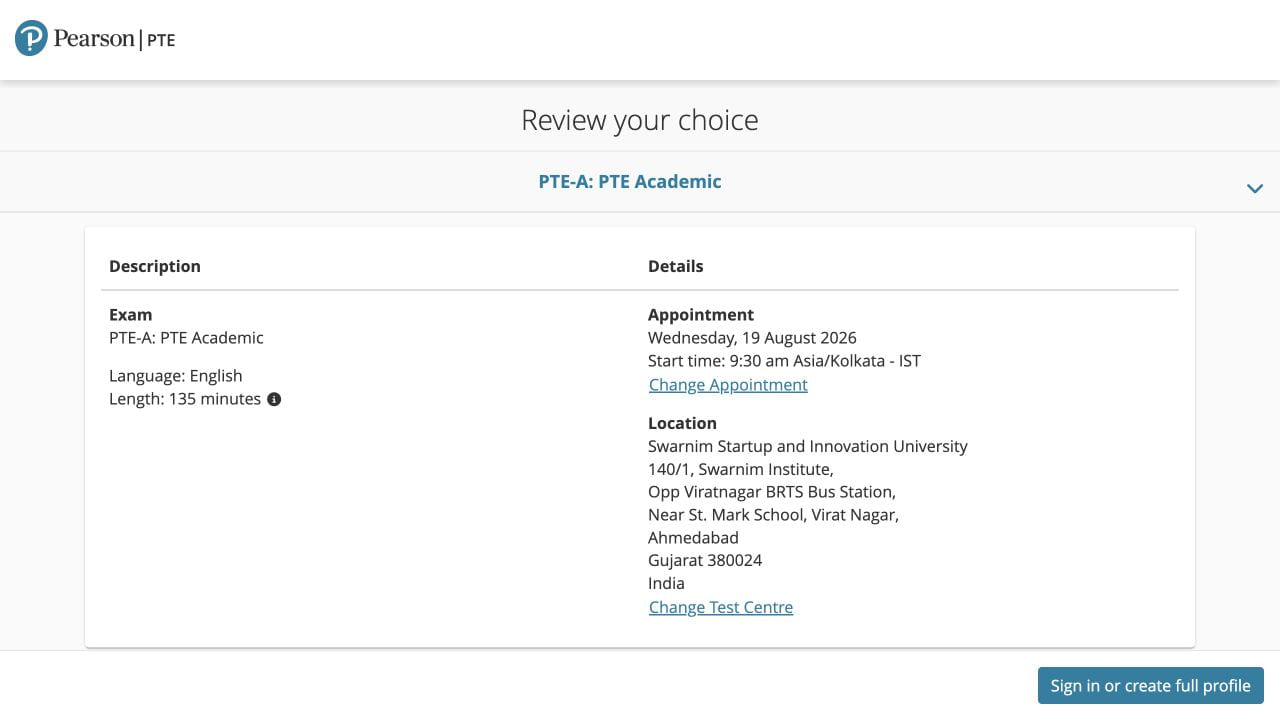
Pearson shows a review screen containing the test, appointment date, start time and test-centre address. Check every detail before continuing.
If something is wrong, use Change Appointment or Change Test Centre. When everything is correct, select Sign in or create full profile.
Step 5: Sign In or Create Your myPTE Account
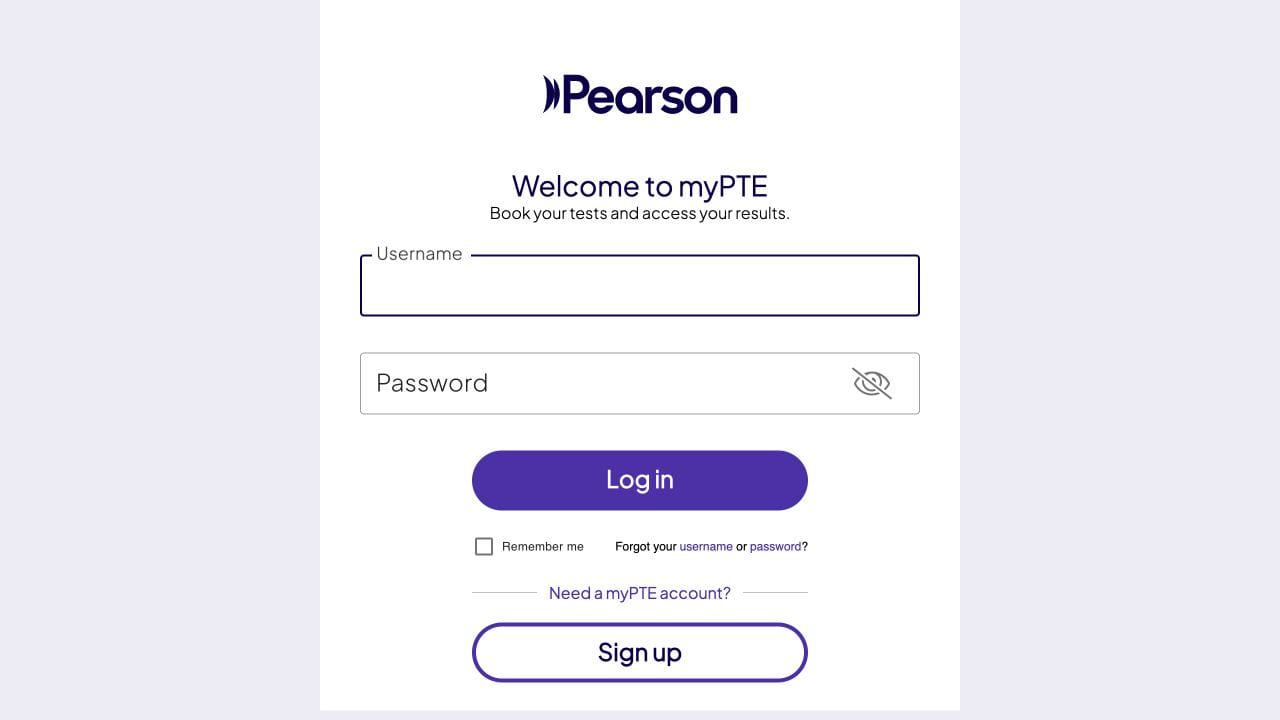
If you already have a myPTE account, sign in with that account. Do not create another account for the same candidate.
If you are new to PTE, create your account using your own active email address and accurate personal information. Enter your name exactly as it appears on your valid passport.
The account is important after booking too. You use myPTE to view the appointment, manage applicable changes and access your result.
Step 6: Confirm Your Identity and Contact Details
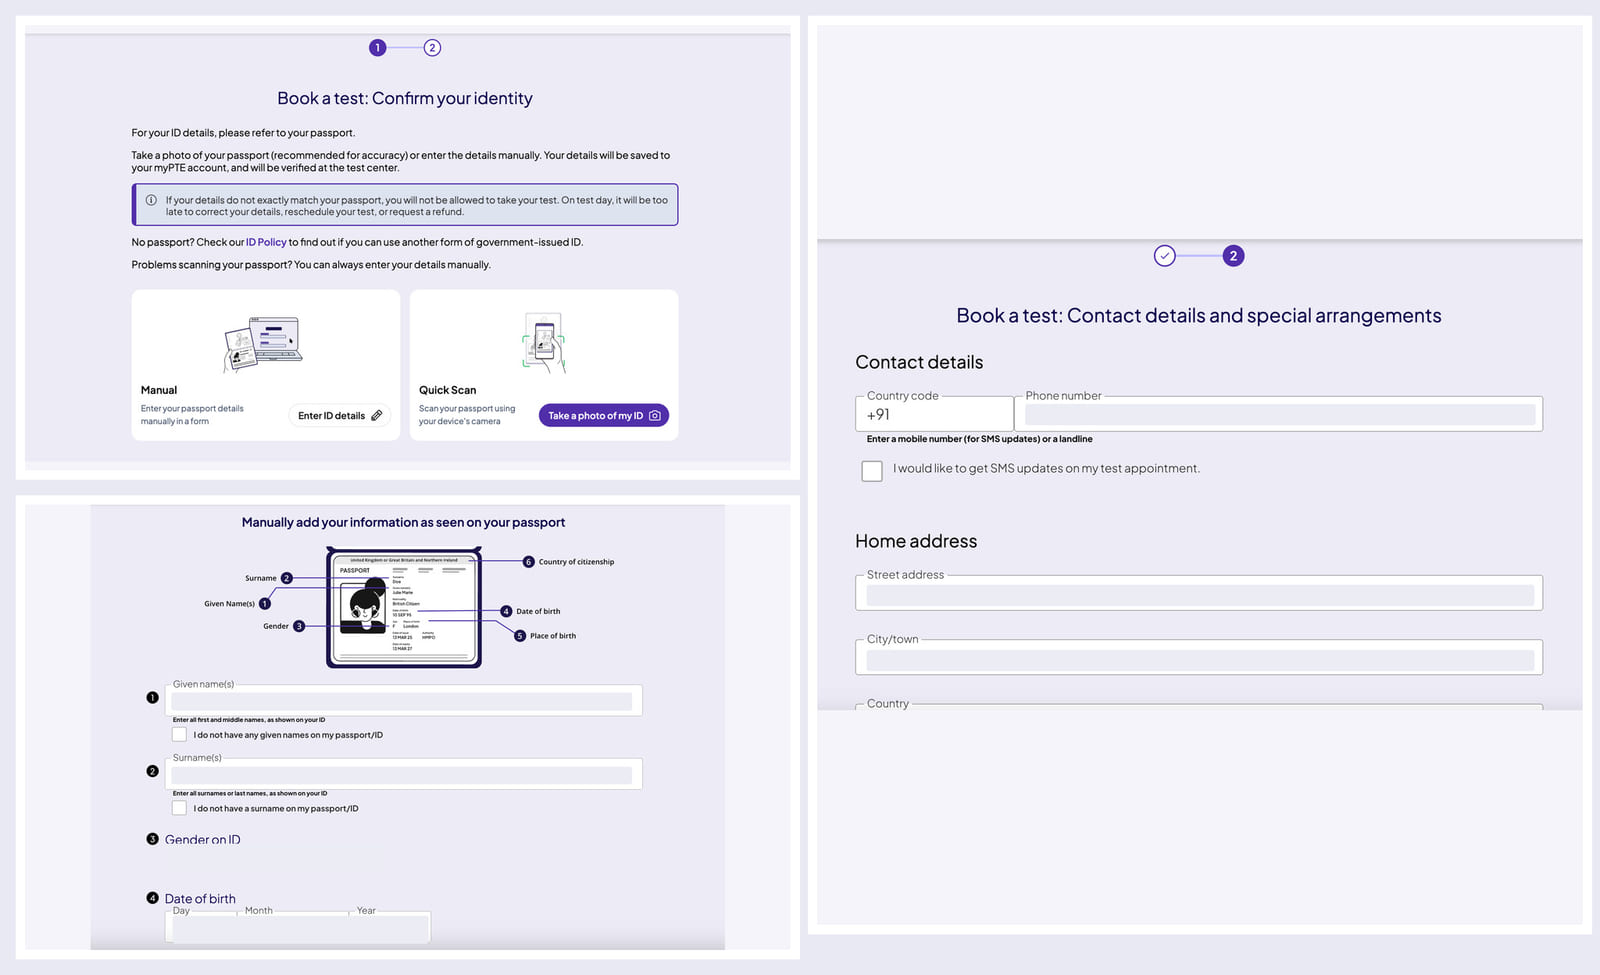
Pearson asks you to confirm the candidate’s identity details before continuing. Check the candidate’s full name, date of birth, country of birth and citizenship against the passport. Enter the identification document details requested for the booking.
Next, confirm the phone number and address. Pearson also asks whether the candidate needs special arrangements. If special arrangements are required, follow Pearson’s current request and evidence process before choosing the final appointment.
Do not enter a nickname or shortened name. The name stored in myPTE must match the valid passport presented on test day.
Step 7: Complete the Booking Questions and Accept the Policies
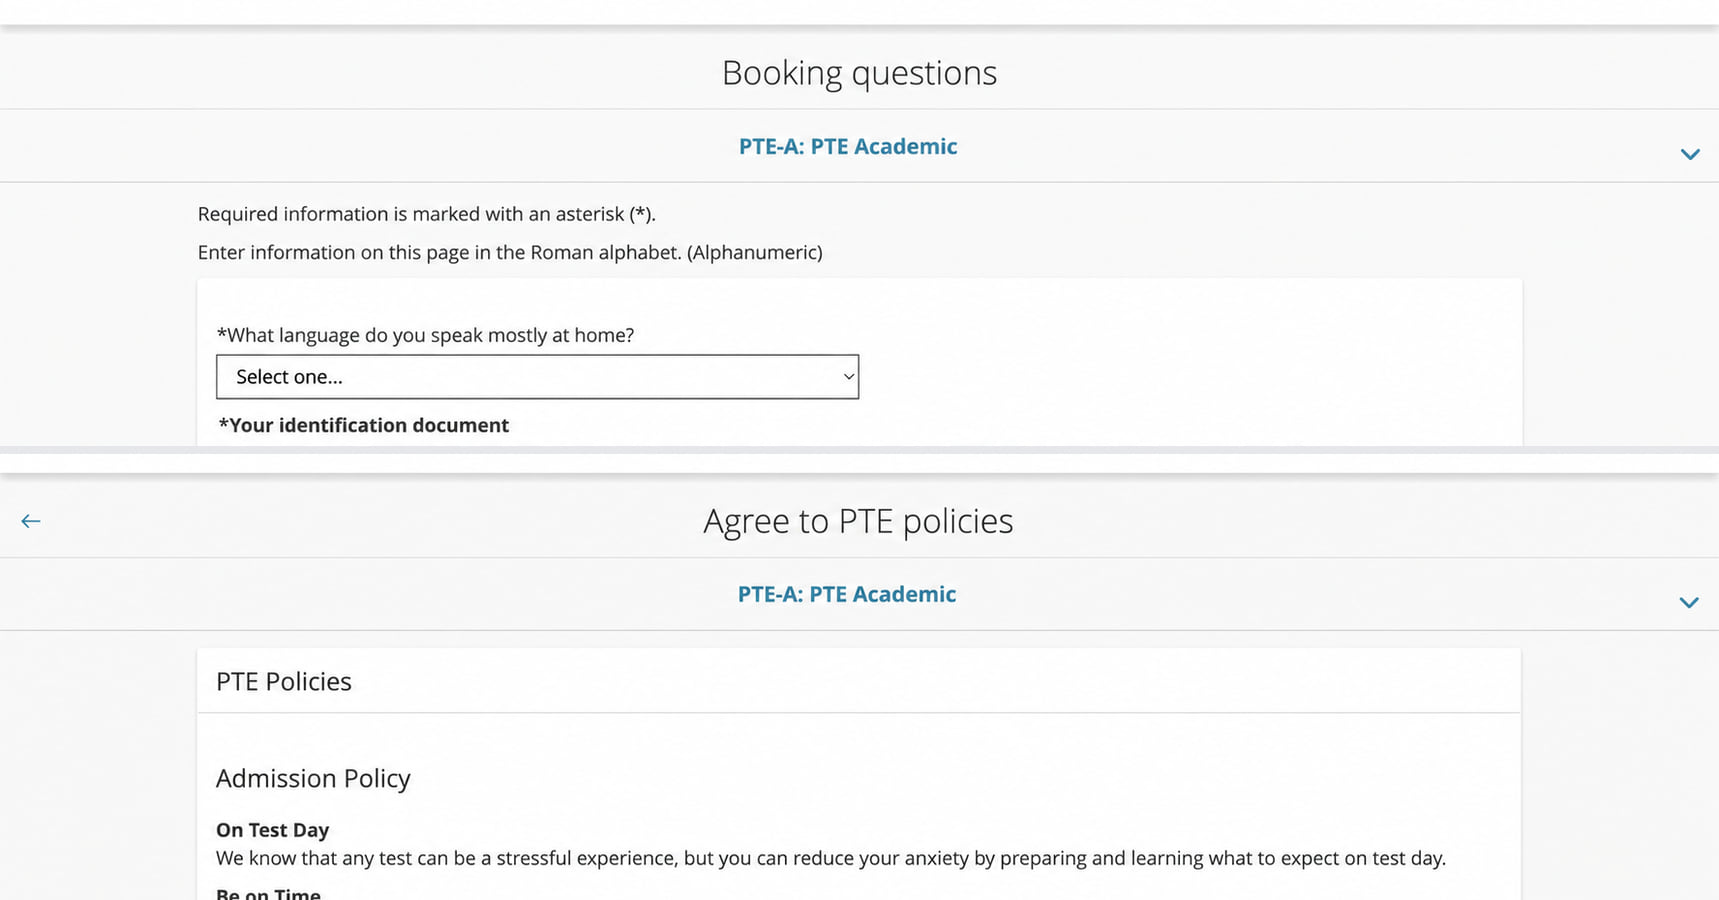
Pearson asks booking questions connected to the selected test. These can include the language spoken at home, destination country, identification document, reason for taking PTE and study or work information. Read each question and answer it correctly. The exact questions can differ according to the exam and booking route.
You will then see Pearson’s current admission, rescheduling and cancellation policies. Read the complete policy information before selecting Agree. The live policies shown during your booking apply to the appointment.
Step 8: Review the Order
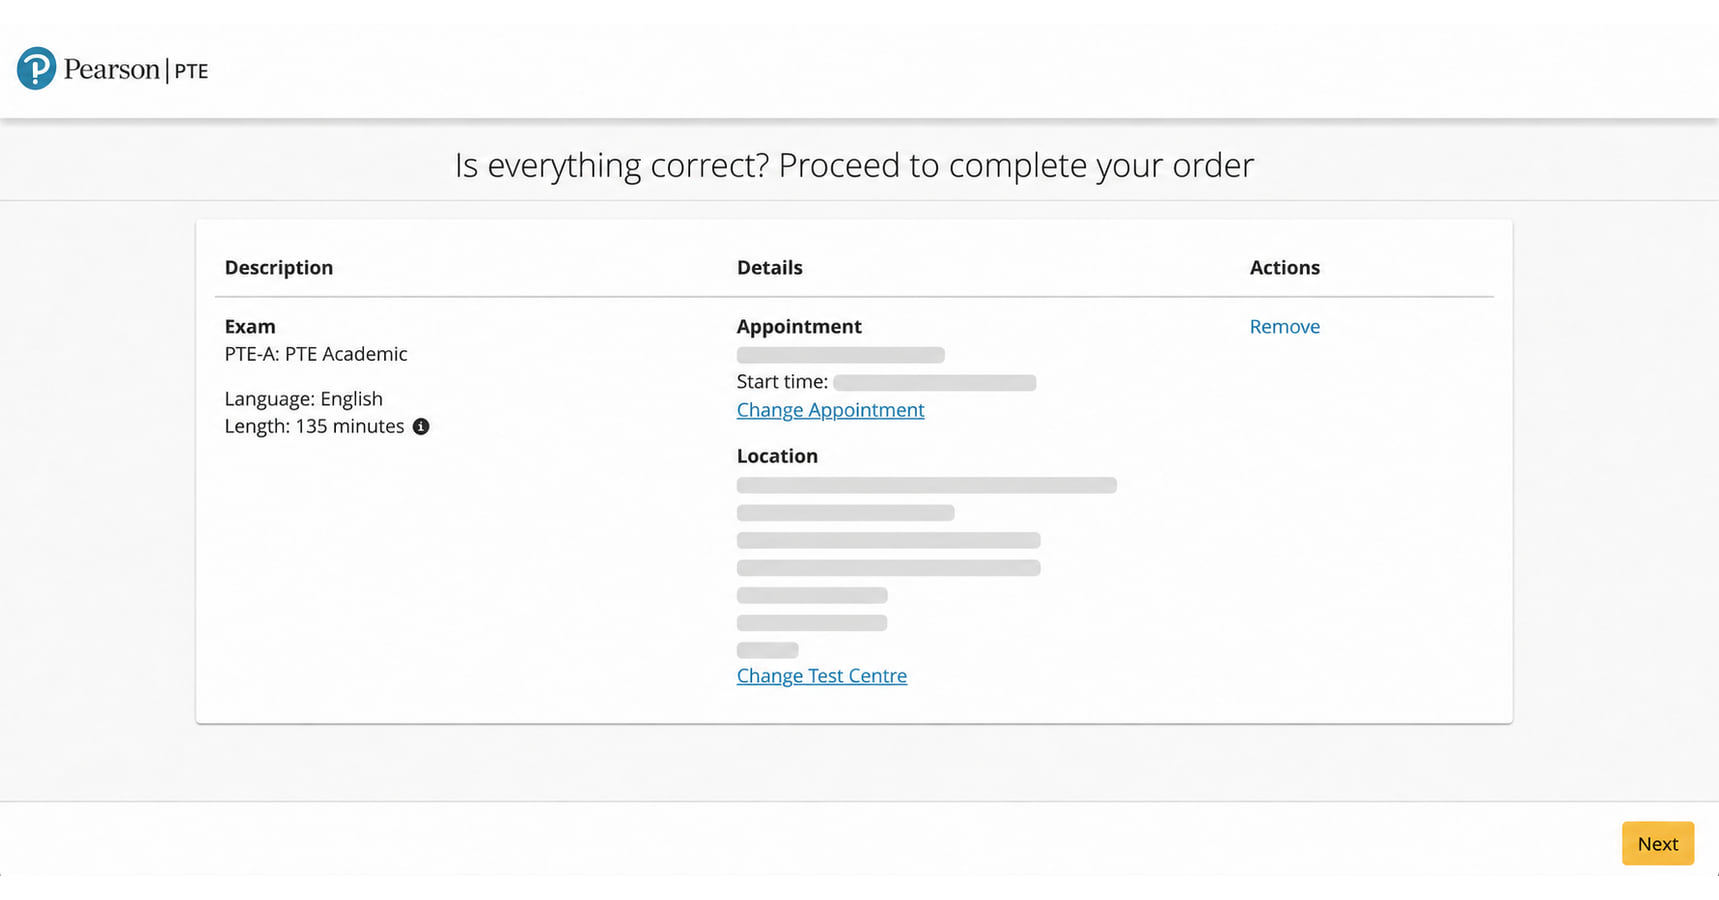
Pearson shows an order-review screen before the cart. Stop for one minute and check:
- The selected PTE test
- Candidate account
- Test-centre name
- Centre address
- Exam date
- Exam time
Fix any incorrect detail before submitting the order. It is much easier to correct a selection before payment than to manage a wrong appointment later.
Step 9: Check the Cart and Pay the Exam Fee
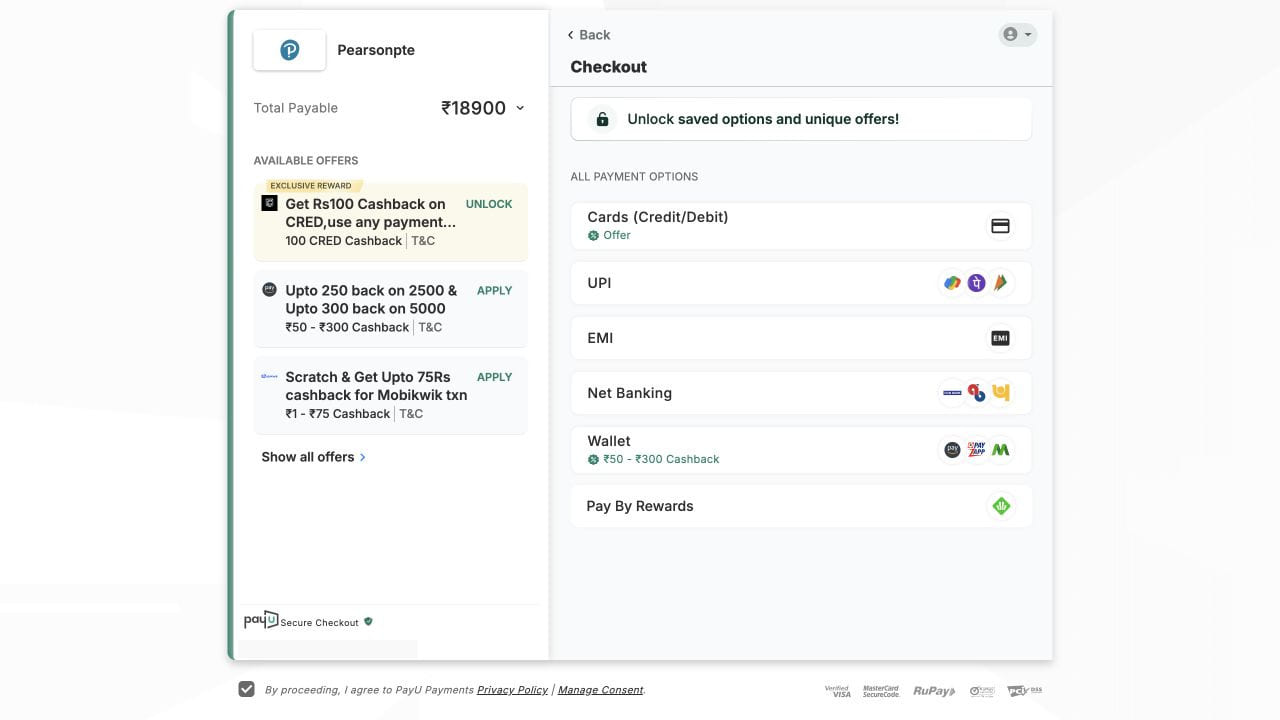
The cart shows the selected test, date, centre, price and total payable amount. Accept the required checkout statement only after checking those details. Continue to billing, enter the requested invoice information and use one of the payment methods currently accepted at checkout. Pearson’s available methods can change, so follow the options shown on the live payment screen.
If you have an eligible PTE voucher, apply it in the voucher or promo-code field. A matching prepaid voucher covers the eligible exam payment according to its test, country, value and expiry conditions.
Students who want to reduce the exam cost can review our current PTE voucher options. Read the package details, exact expiry and current terms before buying. Our detailed PTE voucher guide explains the purchase and redemption process.
Step 10: Complete the Order and Confirm the Booking
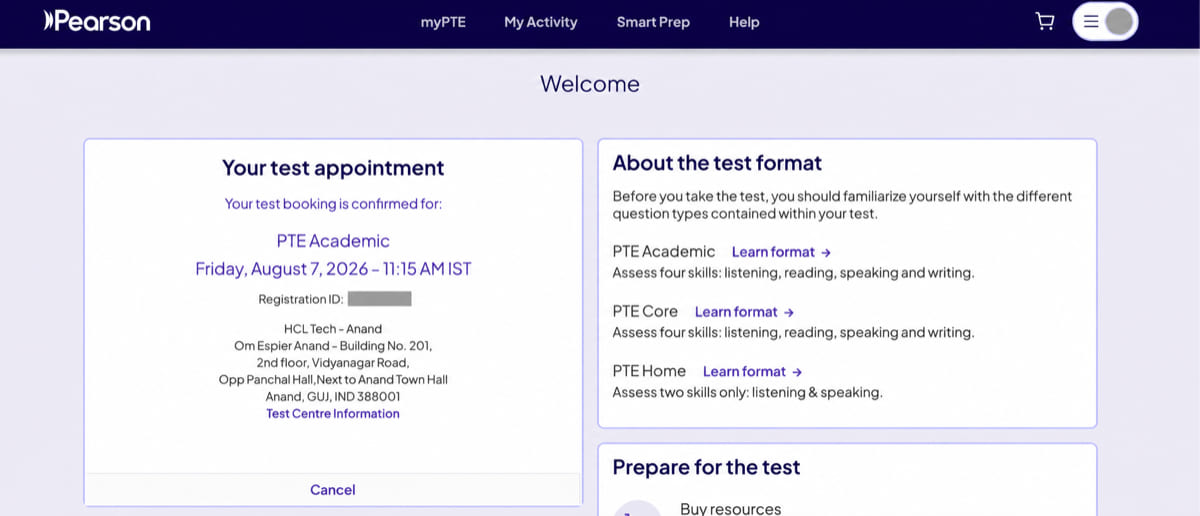
After checking the appointment and payment information, submit the order.
Your PTE test booking is complete only after the appointment is confirmed. Open your myPTE dashboard and check that it shows the correct test, centre, date and time. Save the confirmation and appointment reference.
Pearson also sends a booking-confirmation email containing the appointment information. If it does not arrive, check your spam or junk folder and verify the booking directly in your myPTE dashboard.
Do not treat a payment deduction alone as proof of booking. The appointment must appear in myPTE.
How Does Our Automated PTE Exam Booking Work?
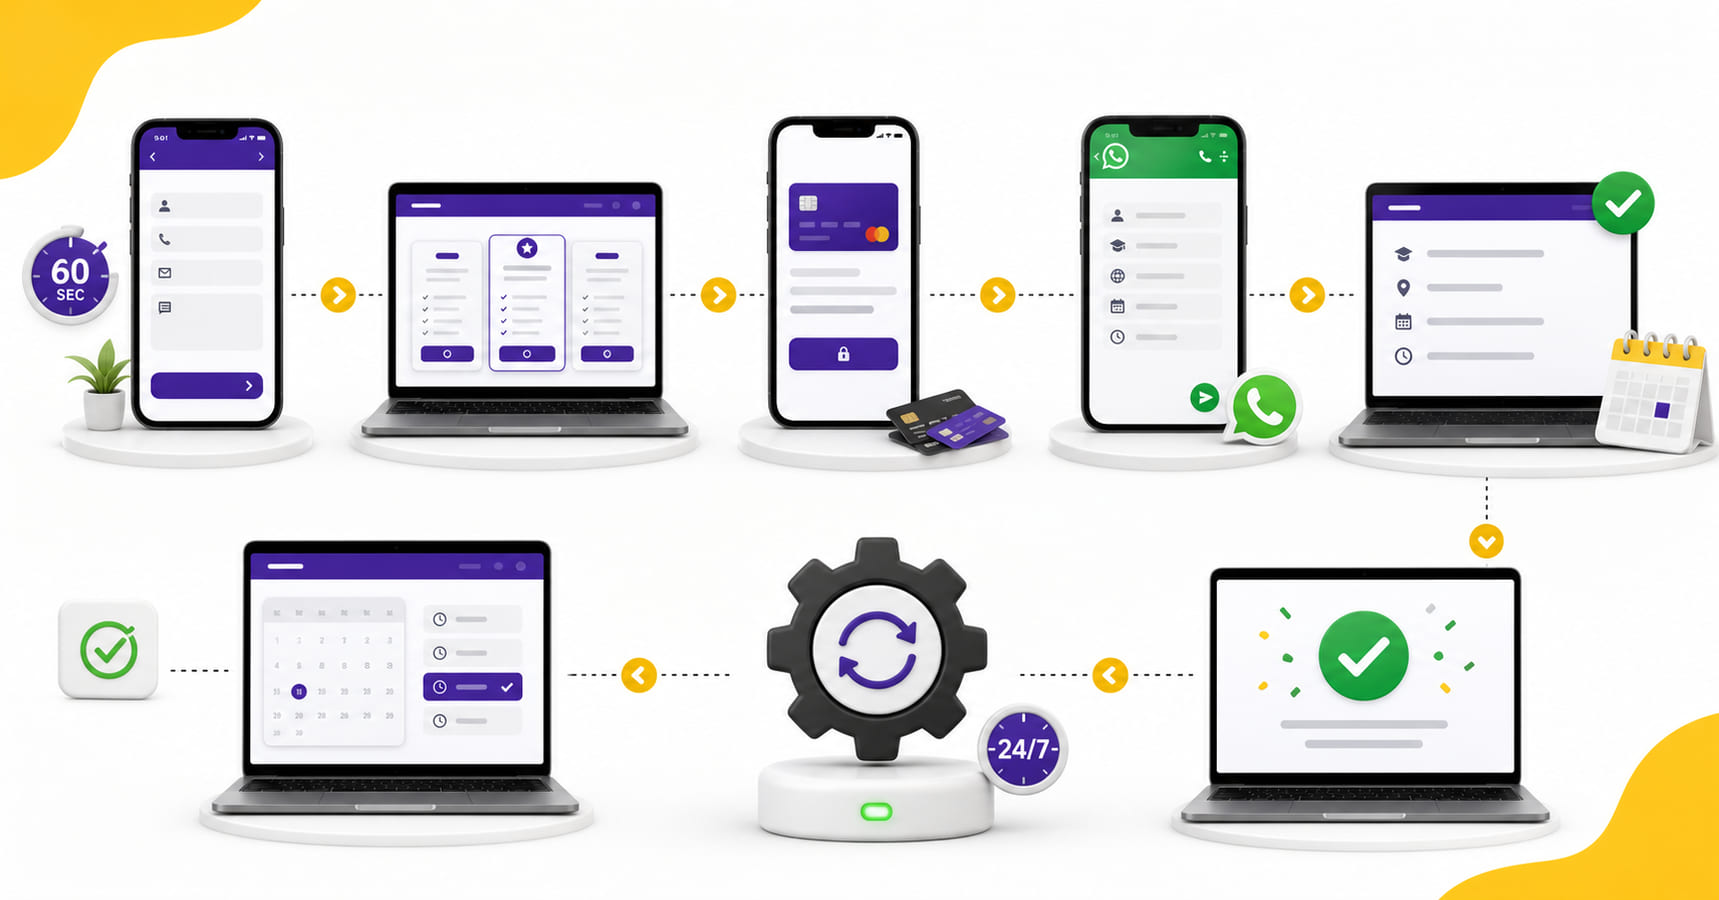
You can complete every booking step yourself through myPTE. If you want less manual work, you can use our automated PTE exam booking service.
Here is the shorter process:
- Open our pricing page and choose a suitable exam-booking package.
- If we do not already have your contact details, enter your name, email address and mobile number in the popup form. Returning students go directly to payment.
- Complete the payment and open the private booking form sent through WhatsApp.
- Enter the required test and appointment details. Check the summary we send back and select Details are correct only when everything is right.
- Our automation completes the approved booking. Check the appointment in myPTE and receive the update through WhatsApp.
When your payment, account connection, preferred slot and approval are ready, the automated booking stage can finish in about 60 seconds. The process works 24/7, including late nights, Sundays and public holidays.
See the booking form, myPTE account options, unavailable-slot choices and WhatsApp review steps in our guide to how our automated PTE booking process works.
Should I Book Through myPTE or Use Our Automated Booking?
Both routes can produce a PTE appointment in your myPTE account. Choose the route based on how much of the process you want to complete yourself.
| Point to compare | Direct booking through myPTE | Our automated booking |
|---|---|---|
| Who completes the booking? | ✓ You complete each Pearson step. | ✓✓ Our automation completes the approved booking. |
| Appointment choice | You choose the live centre, date and time. | You submit your preferred centre, date and time. |
| Account connection | ✓ You sign in to myPTE yourself. | ✓✓ Choose the automatic login route or the password-free PTE ID route. |
| Booking price | ✓ Pay Pearson’s current exam price or use an eligible voucher. | ✓✓ Book at a lower price with our additional automated-booking discount. Check the current package price before paying. |
| Booking speed | ✓ Depends on how quickly you complete each Pearson step. | ✓✓ About 60 seconds when the payment, account connection, approved details and preferred slot are ready. |
| Booking support | ✓ You complete the booking yourself or use Pearson’s available support. | ✓✓ Get support throughout our 24/7 automated booking process. |
| Mock-test access | ✓ Mock tests are not included with direct Pearson booking. | ✓✓ Eligible booking packages include 50 free scored PTE mock tests. Check the package inclusions and validity before paying. |
| Final check | Review the Pearson order before payment. | Review and approve the WhatsApp summary before booking. |
| Confirmation | ✓ Check the appointment in myPTE. | ✓✓ Check the appointment in myPTE and receive the update through WhatsApp. |
Direct booking is suitable when you want full control and are comfortable using Pearson’s system. Our automated service is suitable when you want to submit your choices and let us complete the approved appointment. Neither route changes the test, score or Pearson’s live slot availability.
What Payment Options Can I Use for PTE Exam Booking?
The PTE exam fee can change. The test type and booking country also matter. Check Pearson’s current test-centre and fee information before making a decision.
For an exam in India, students commonly choose one of these payment routes:
Pay During Pearson Checkout
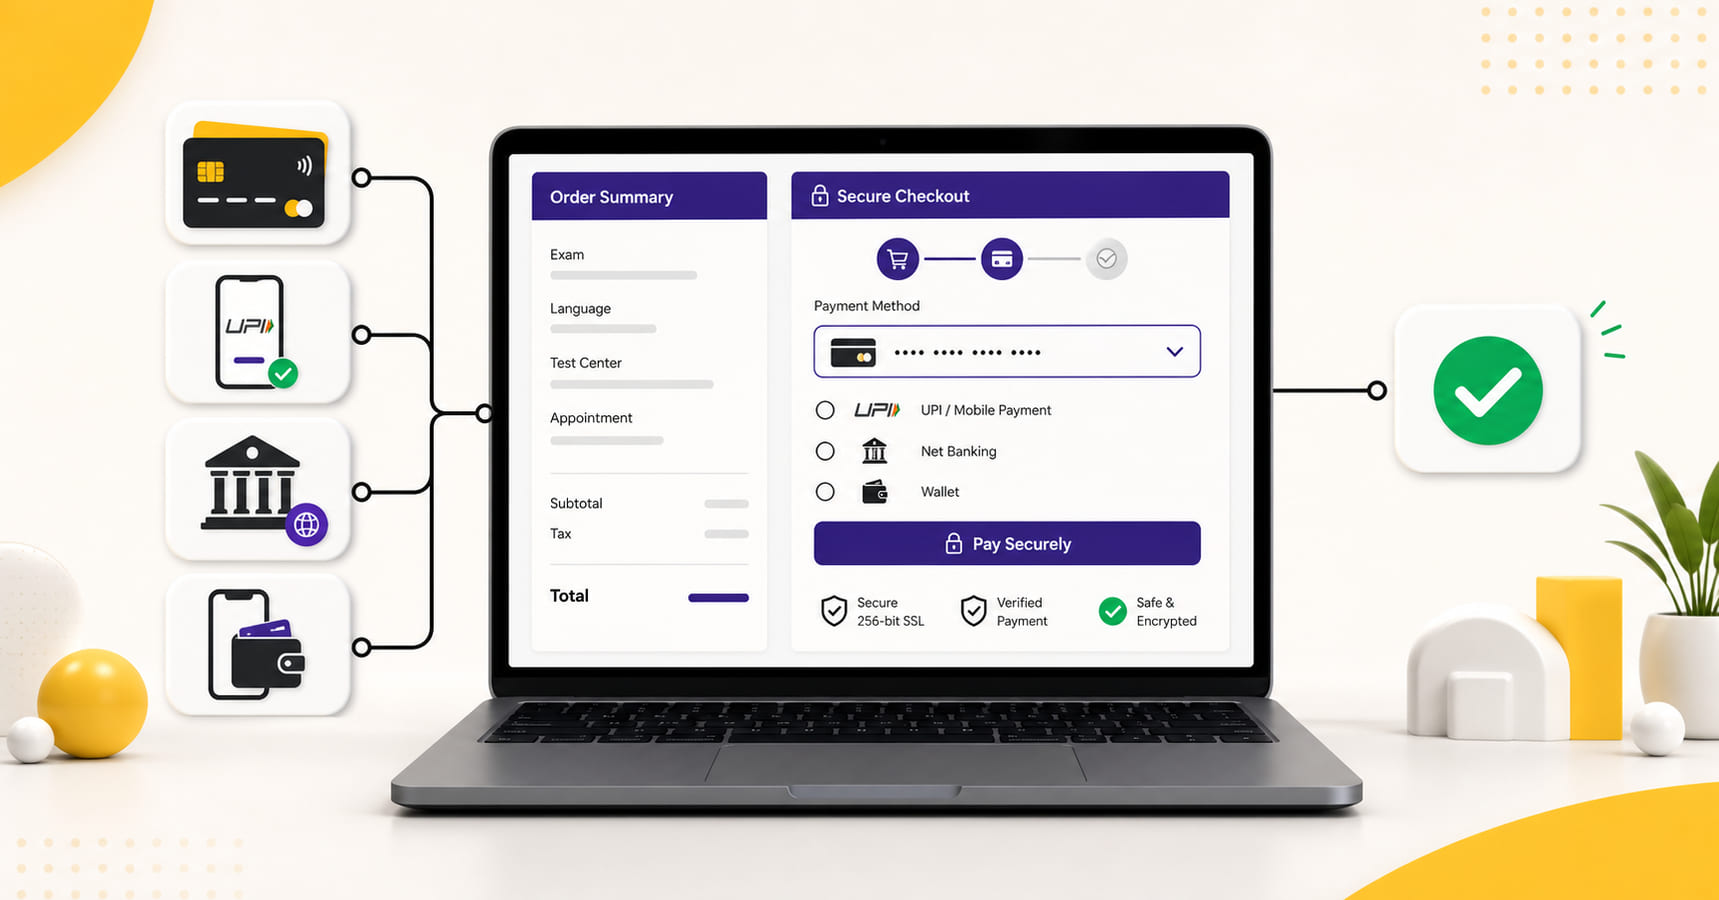
Select the appointment and pay using an accepted payment method shown at checkout. The transaction must be completed before the appointment is confirmed.
Use a PTE Voucher
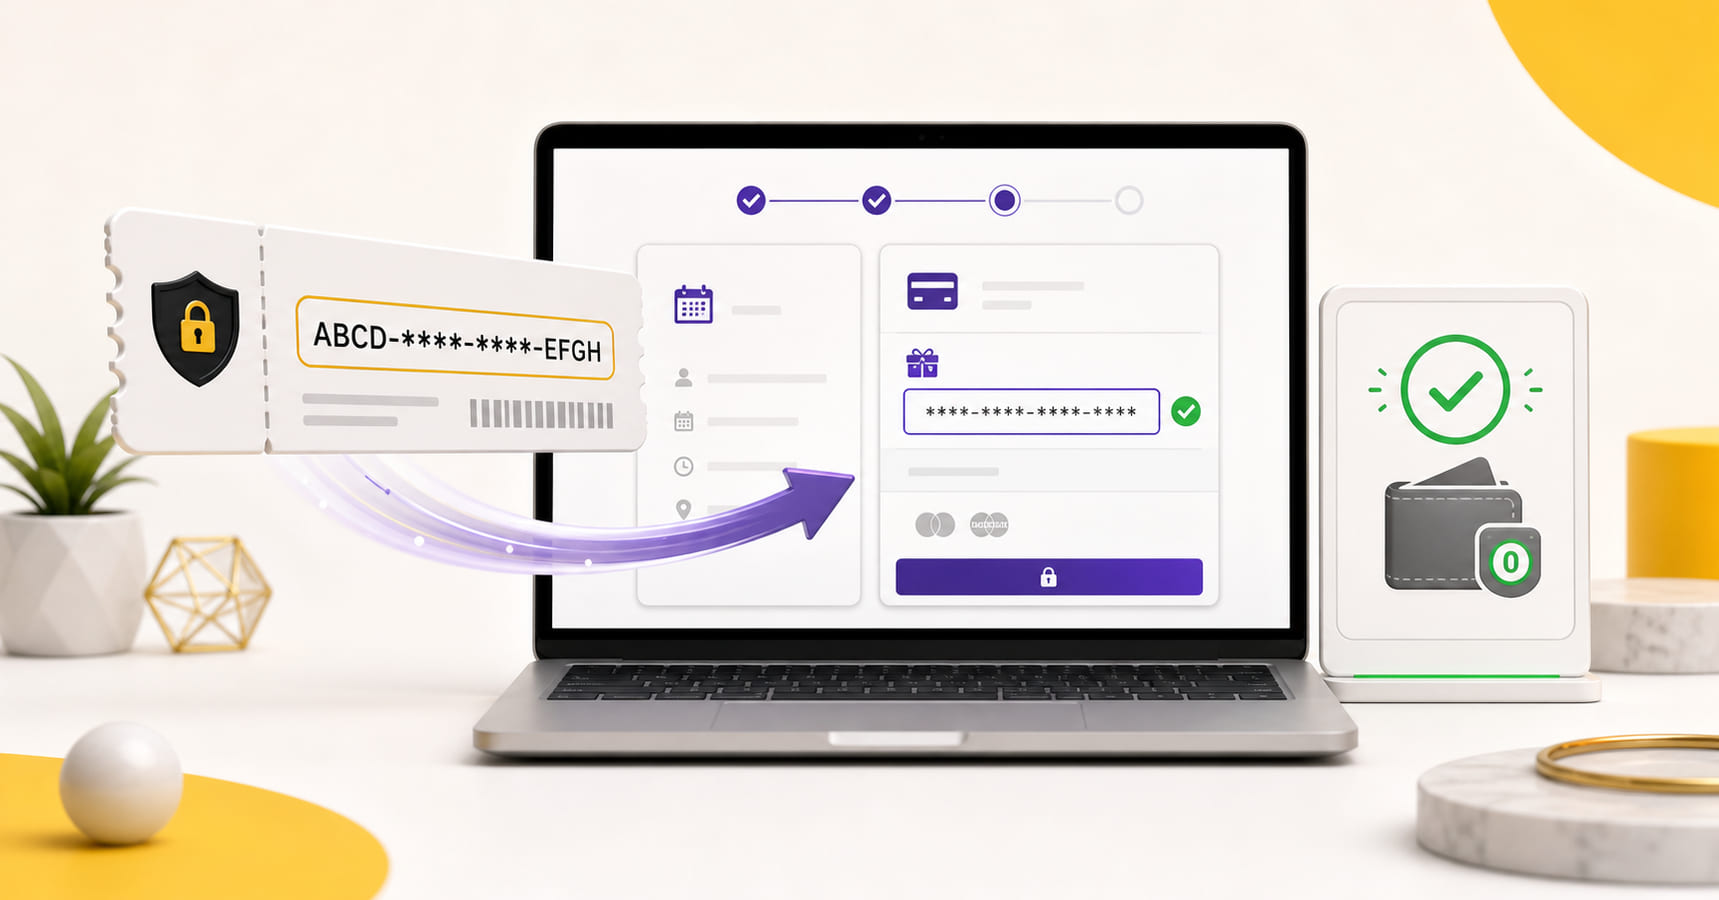
Buy an eligible prepaid voucher, select the appointment yourself and apply the code during Pearson checkout. The voucher route can reduce the exam cost, but you still complete the myPTE booking process.
Use Our Automated Exam Booking
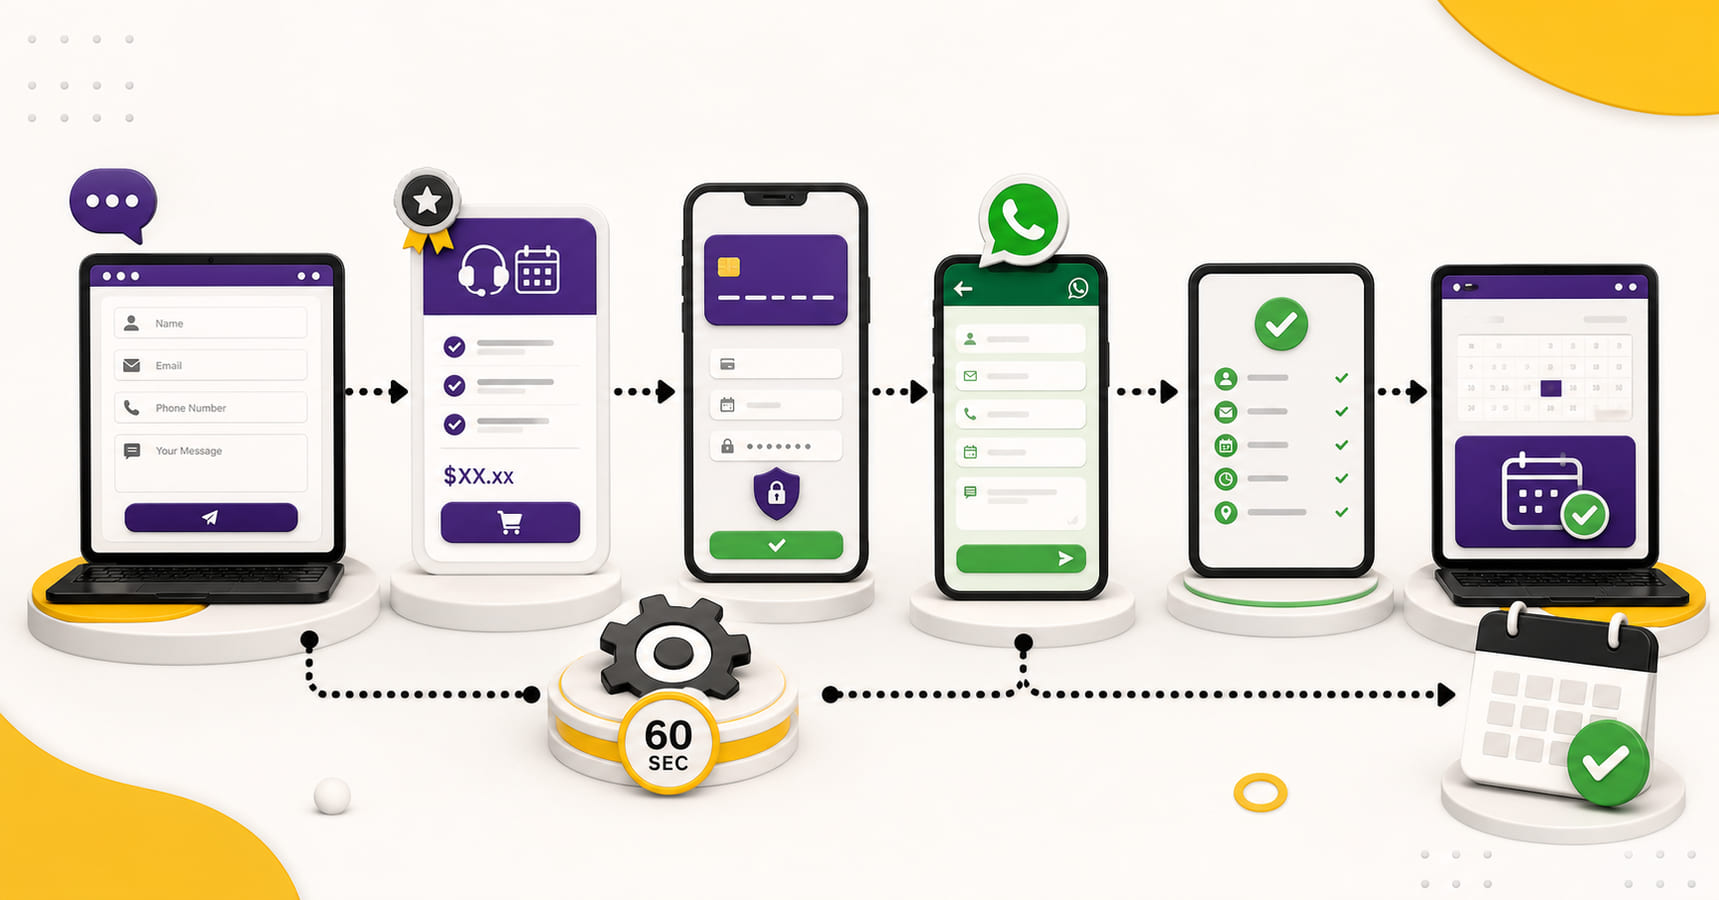
Choose the appropriate booking package, complete payment on our website and submit your appointment details through the form sent on WhatsApp. Our exam-booking package costs less than our voucher option because you receive an additional discount for using the automated process.
Both our booking and voucher packages are genuine options for the same eligible exam. The better choice depends on whether you want us to complete the appointment or prefer to finish Pearson checkout yourself.
How Do I Know Whether My PTE Exam Is Booked?
Your booking is confirmed when the appointment appears in your myPTE account.
Check these details:
- Candidate account
- PTE test
- Test-centre name
- Centre location
- Exam date
- Exam time
- Appointment reference
Do not look only at the date. A confirmation can contain the right date but the wrong centre or time.
Our separate checklist explains the seven details to check in your PTE booking confirmation.
What Should I Do If My Preferred PTE Slot Is Unavailable?
PTE slot availability can change while you are booking. A slot is not reserved just because you can see it. It is yours only after the booking is complete and the appointment appears in myPTE.
If You Are Booking Directly Through myPTE
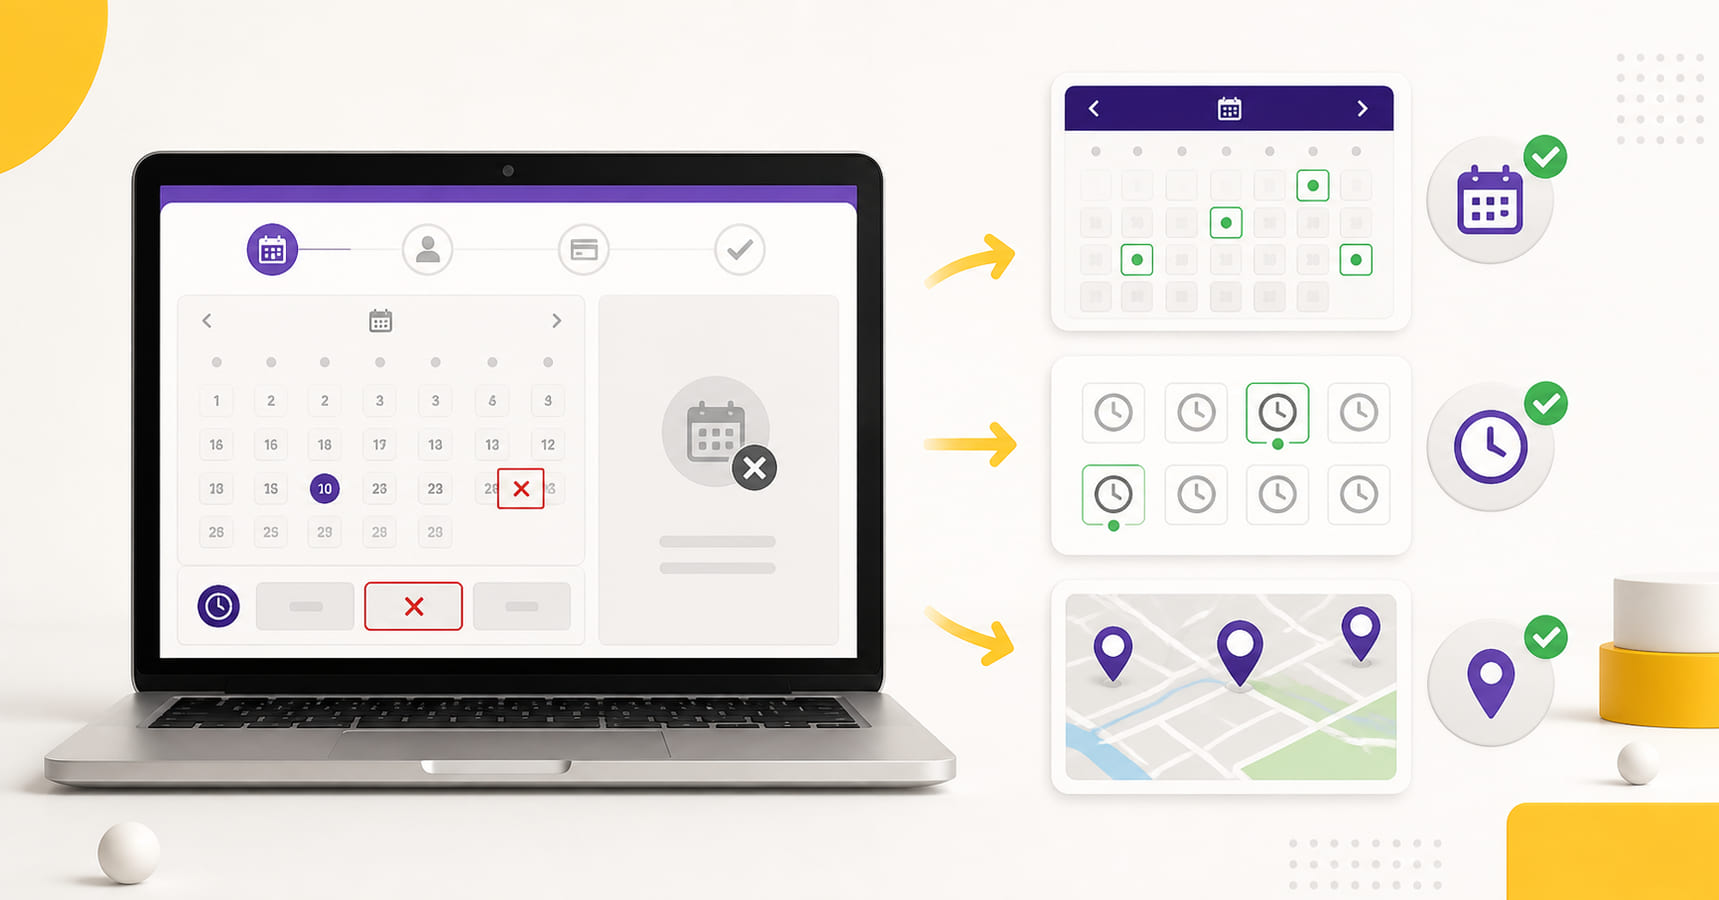
Search the live calendar again. Try another time, nearby date or test centre. Do not book an appointment you cannot attend only because it is available.
If You Are Booking Through Us
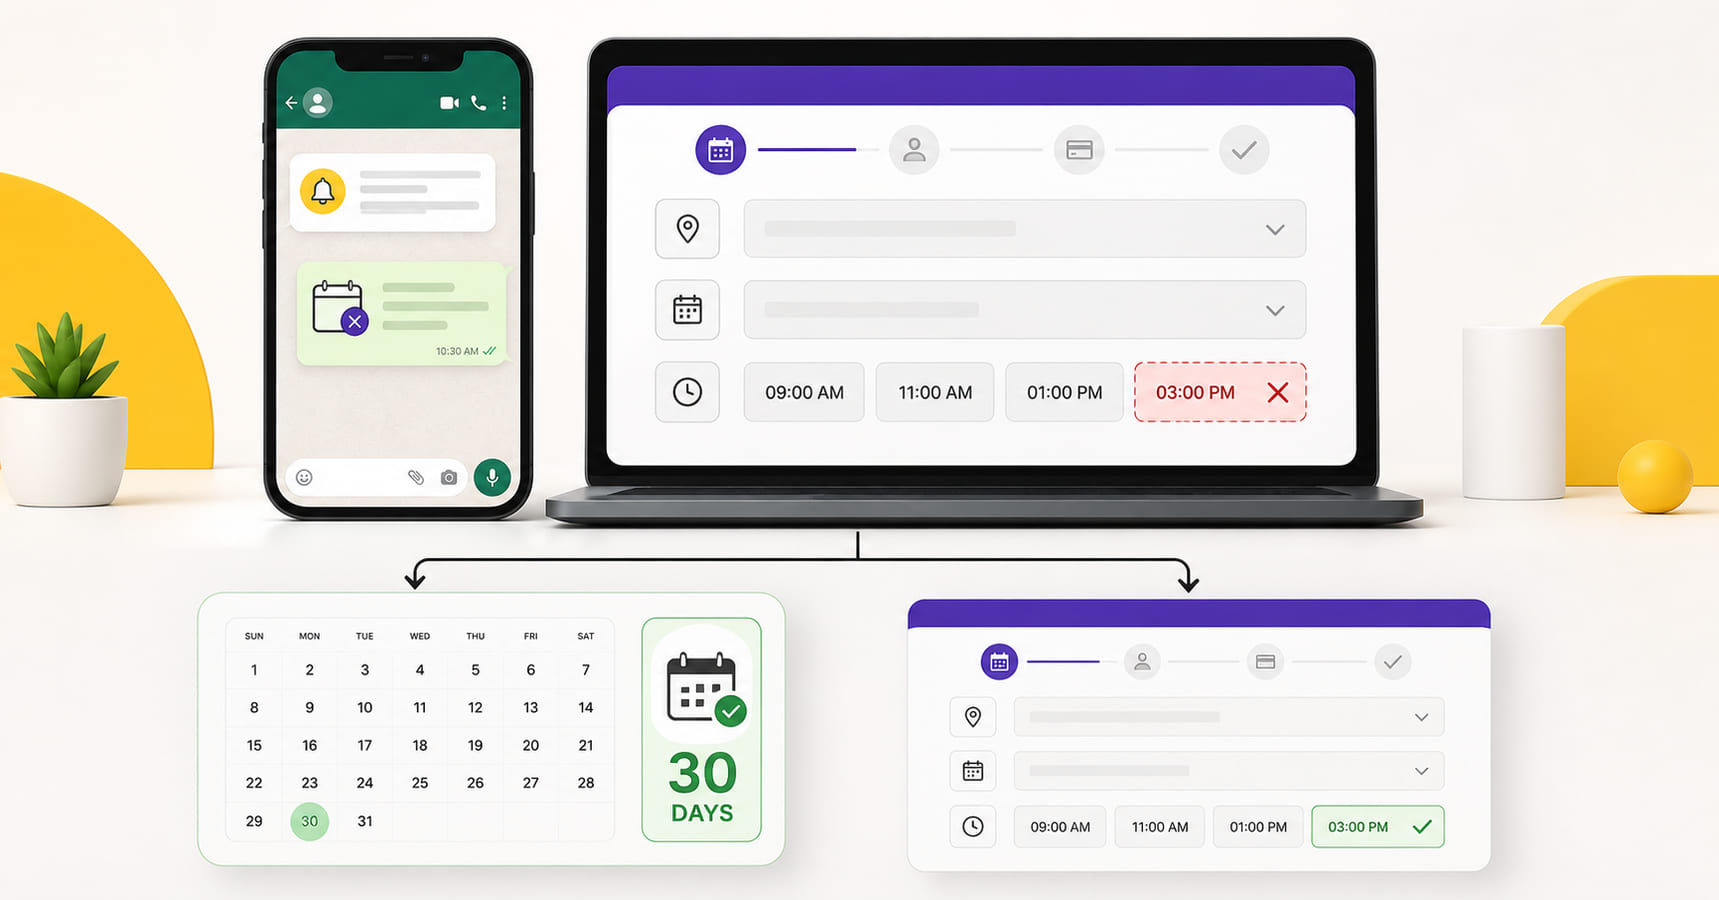
Choose one unavailable-slot instruction in the booking form. If the requested slot cannot be booked, our system follows that instruction. Read the current wording in the live form before you confirm it because booking and rescheduling conditions can change.
What Should I Do If My PTE Booking Payment Fails?
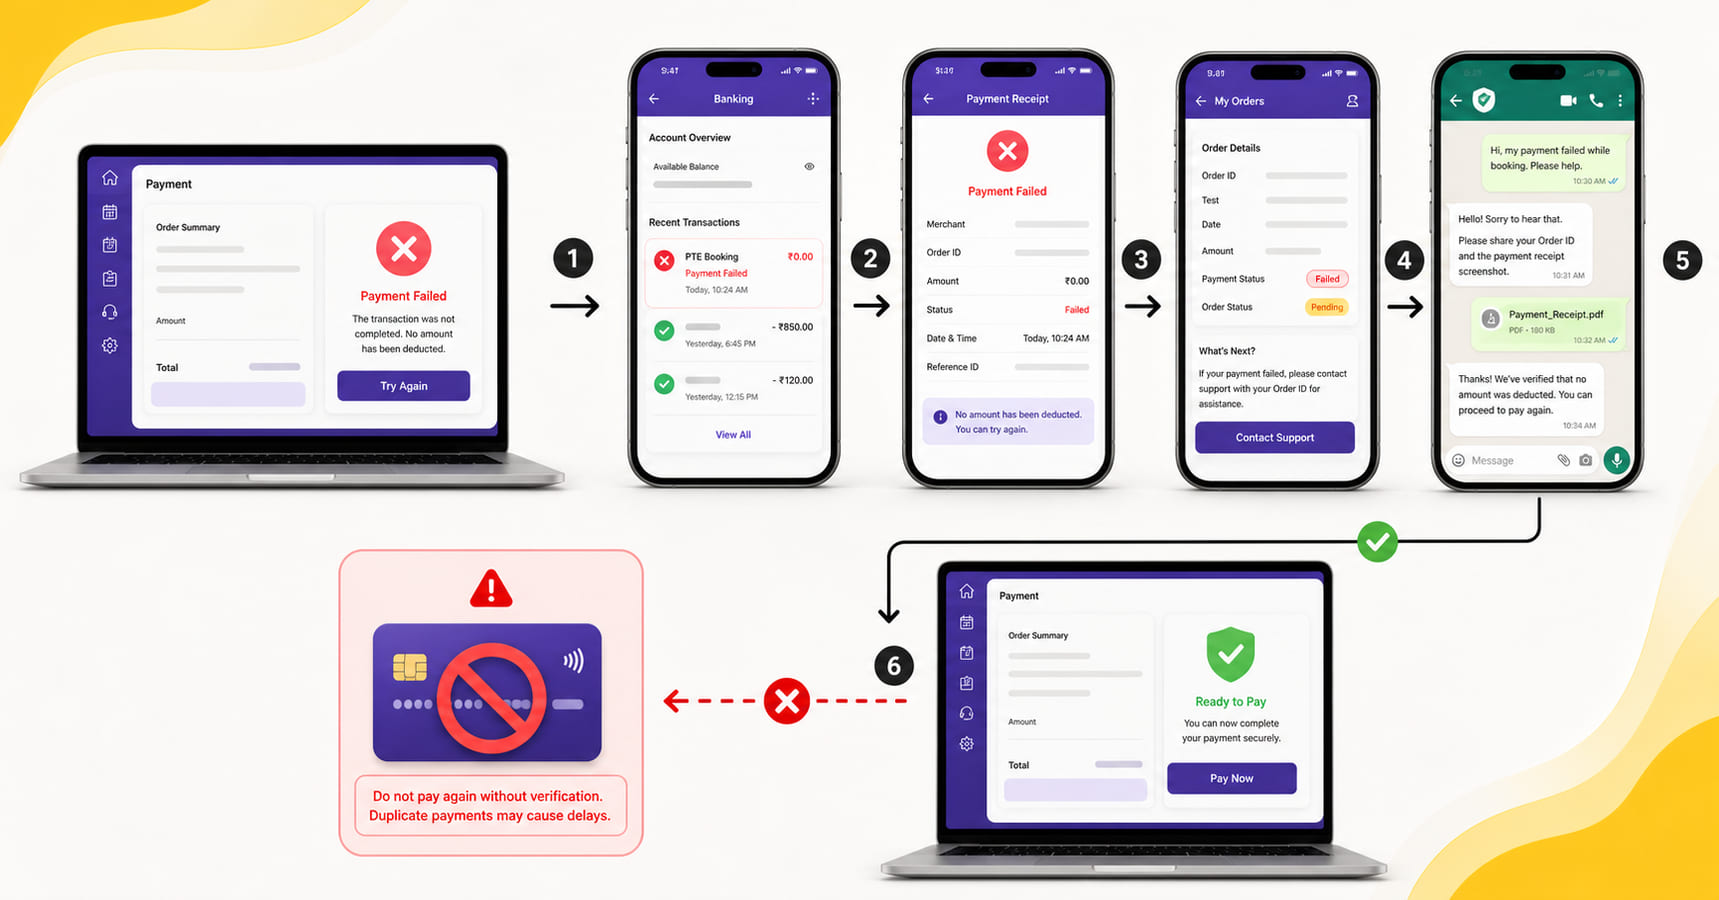
A slow or refreshed payment screen can be confusing. Do not immediately make another payment.
First, check whether your bank or payment application shows the transaction as successful, pending or failed.
If you paid directly through Pearson, check your email, spam folder and myPTE dashboard for the payment or appointment confirmation.
If you paid through us, check WhatsApp for the order confirmation and check your email, spam and promotions folders for the payment confirmation or invoice.
A bank deduction does not always mean the merchant received the payment. When the bank deducts money but the payment does not reach us, the bank returns it to the original account after completing its reversal process.
Contact the correct support team with the transaction reference before paying again. If you paid us, share the registered details and payment reference so we can check the order.
How Can I Book a PTE Exam Safely and Avoid Fraud?
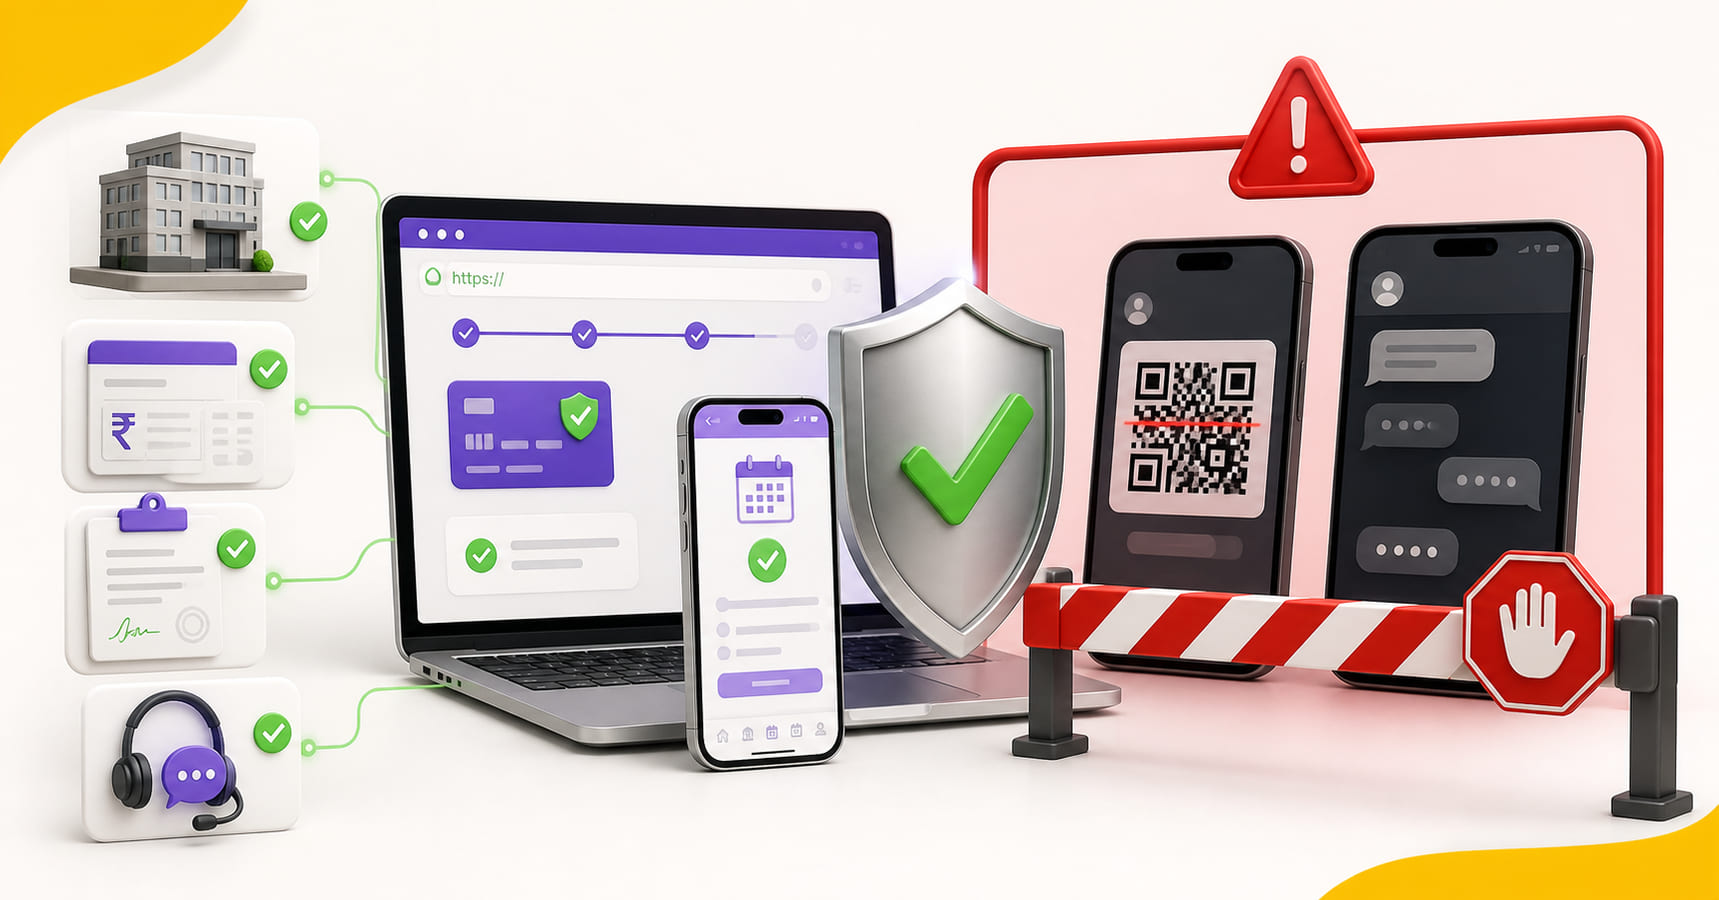
Whether you book directly or use a service, keep the payment, booking and confirmation connected to a verified business. Pearson says authorised agents should use its partner system and students should not need to share myPTE login details. If a service offers another workflow, understand it before you continue and use a password-free option when you prefer one.
Use these checks:
- Create and control your own myPTE account.
- Make sure the account name matches your passport.
- Use an official Pearson page or a verified booking provider.
- Pay through the provider’s official website and recognised payment system.
- Keep the receipt, order reference and GST invoice where applicable.
- Do not pay through an unrelated personal QR code.
- Review the centre, location, date and time before approval.
- Confirm the completed appointment in myPTE.
- Avoid guaranteed-score and result-changing claims.
PTENOTE is operated by Sedani Digital Pvt Ltd. We have worked with PTE students since 2016, have a public office in Ahmedabad and provide a GST invoice. Our payment, form, review and booking confirmation remain connected under the same service. If our form asks for account information, read the full explanation of our two myPTE connection options before deciding.
Can I Reschedule or Cancel My PTE Exam?
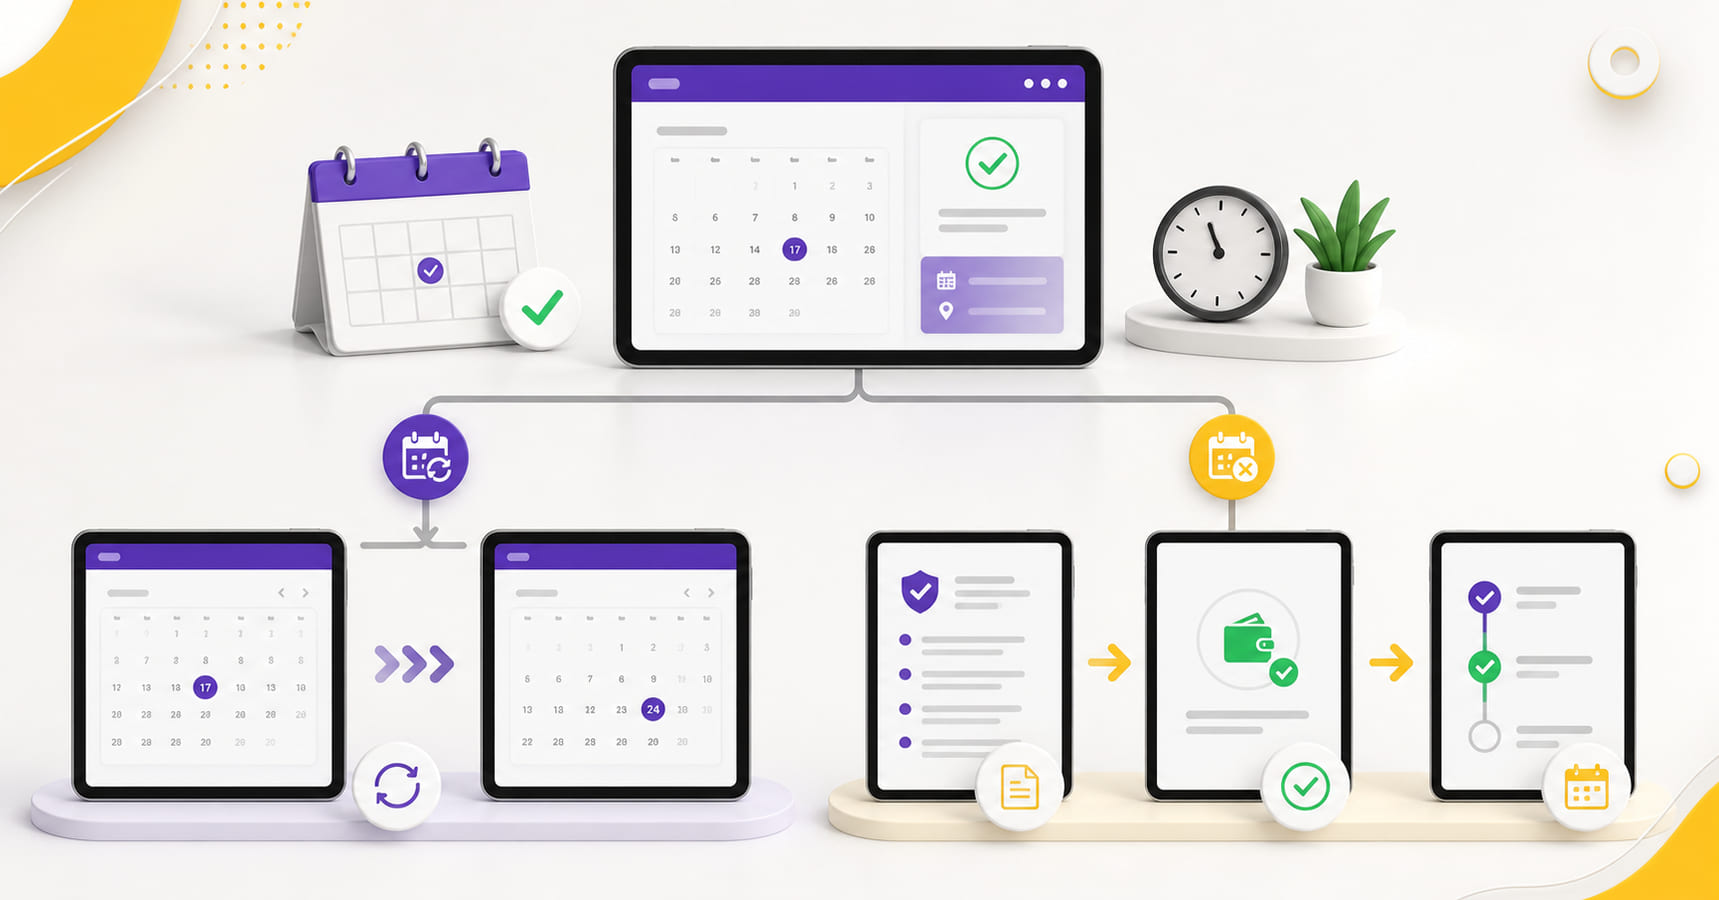
Yes, but the current Pearson rules depend on how many full calendar days remain before the test. Charges and refund eligibility can change, so check the latest Pearson cancellation and rescheduling policy before changing the appointment.
Pearson’s appointment rules and our service terms are separate. If you bought one of our packages or vouchers, also read our latest Refund and Cancellation Policy.
Do not rely on an old percentage, screenshot or social-media message when making the decision.
What Should I Do After Booking My PTE Exam?
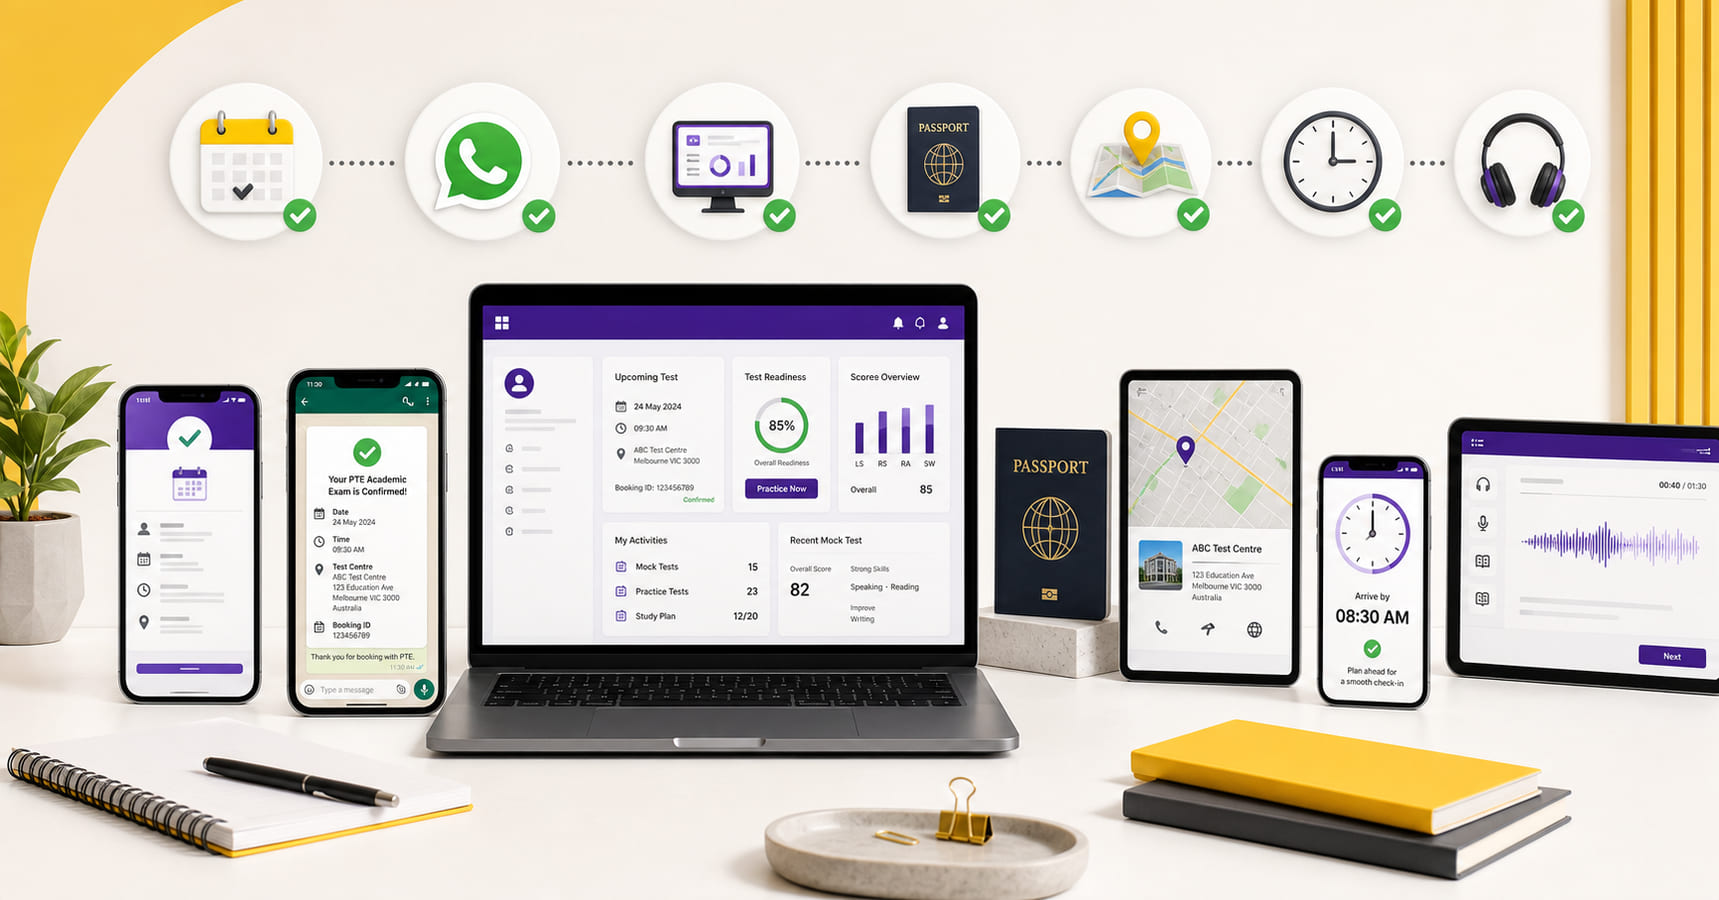
Once your PTE exam booking is confirmed:
- Save the appointment confirmation.
- Check the centre address and arrival instructions.
- Keep your original valid physical passport ready.
- Confirm that the ID remains valid on the exam date.
- Plan to arrive according to the time stated in the official instructions.
- Use the remaining days for focused practice.
If you want realistic preparation before exam day, try our online PTE mock tests. Students who purchase an eligible PTE exam-booking or voucher package from us receive 50 free scored mock tests, subject to the validity and inclusions shown on the live package. Our PTE mock-test guide explains how to use the scorecard and plan the next practice session.
What Common PTE Exam Booking Mistakes Should I Avoid?
Selecting the Wrong PTE Test
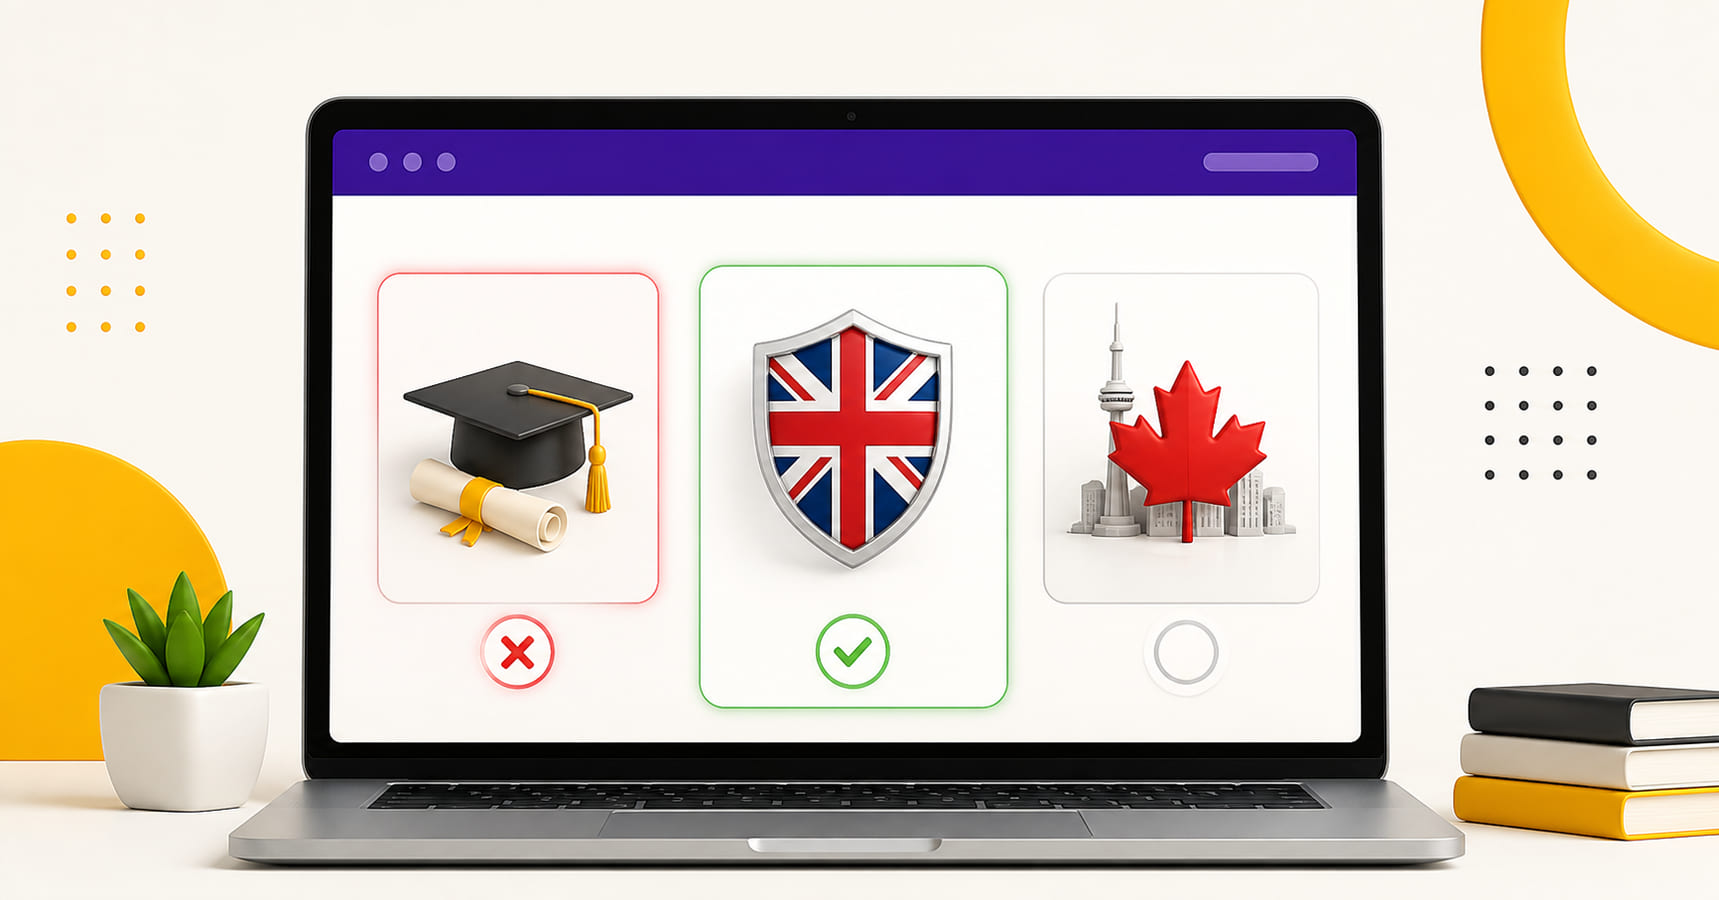
Confirm the requirement before payment. PTE Academic, PTE Academic UKVI and PTE Core are not interchangeable names.
Creating More Than One myPTE Account
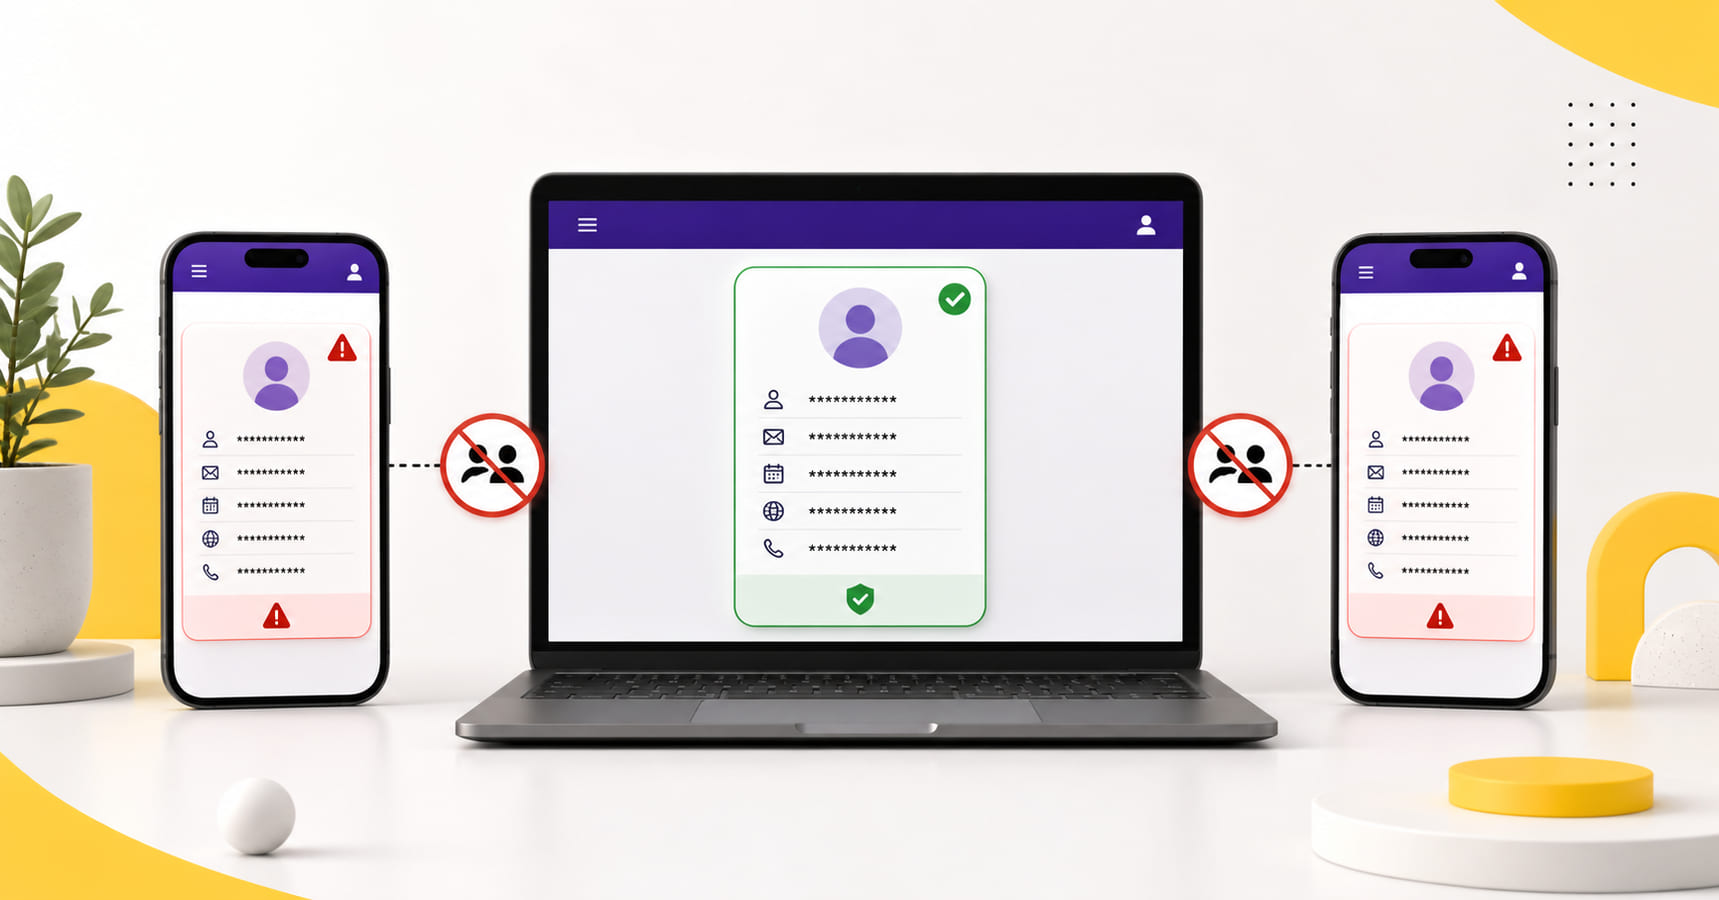
Use the candidate’s existing account. Multiple accounts can create confusion around personal details, appointments and results.
Entering a Name That Does Not Match the Passport
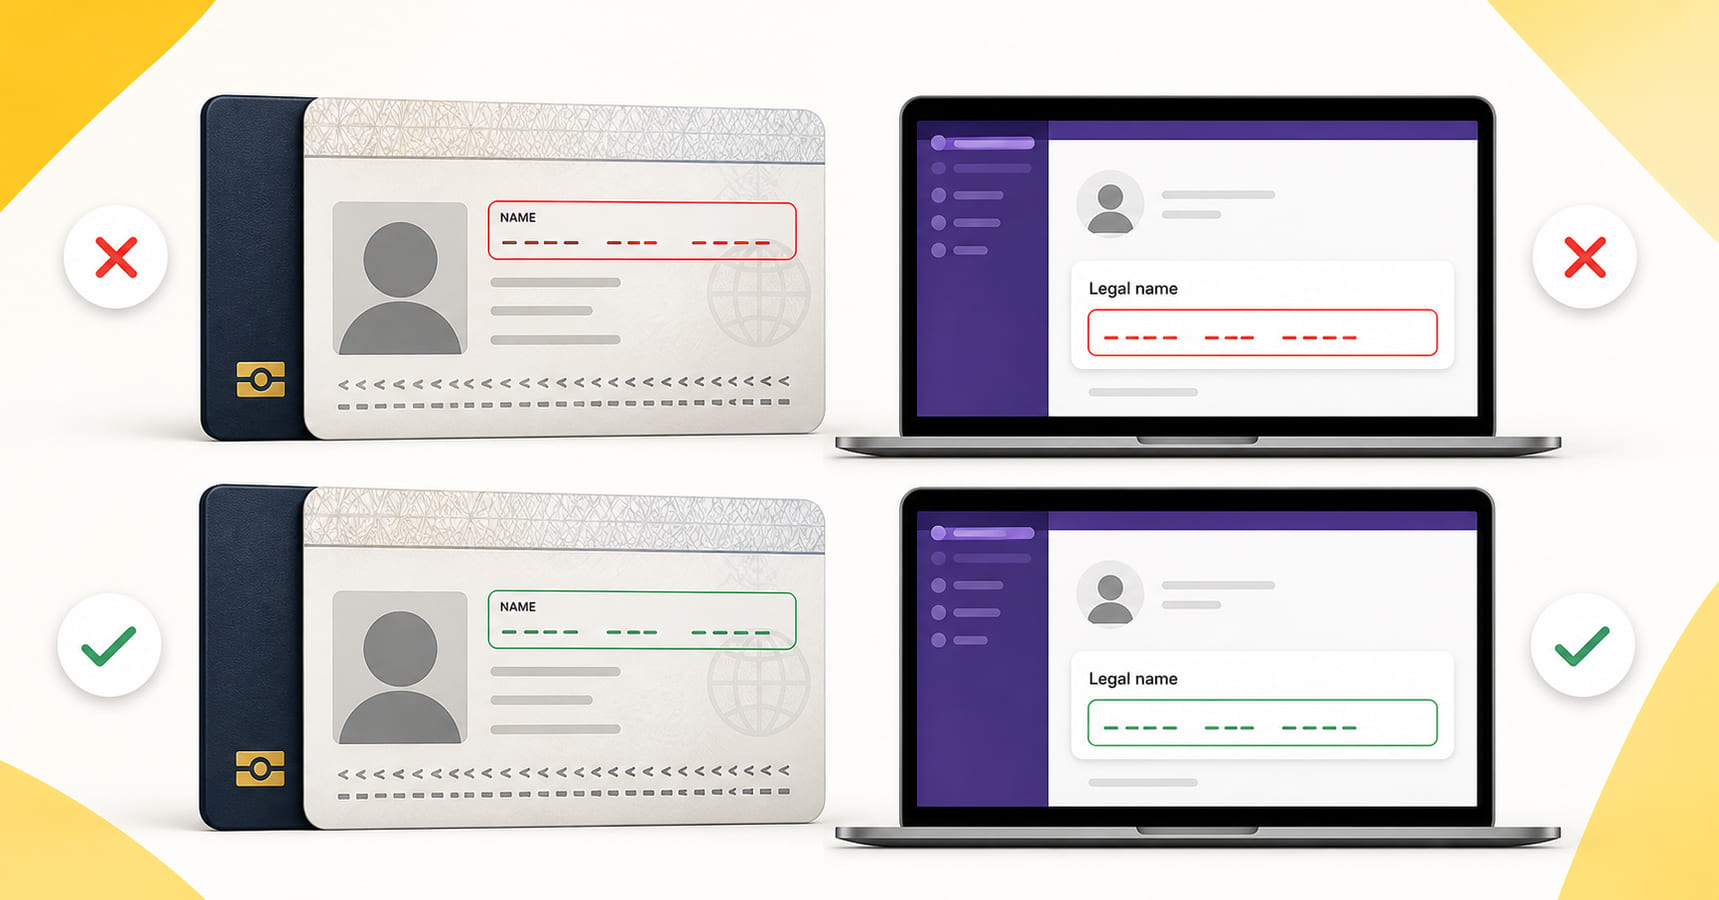
Check the myPTE name before booking. Our automation uses the name already stored in that account.
Treating a Visible Slot as Reserved
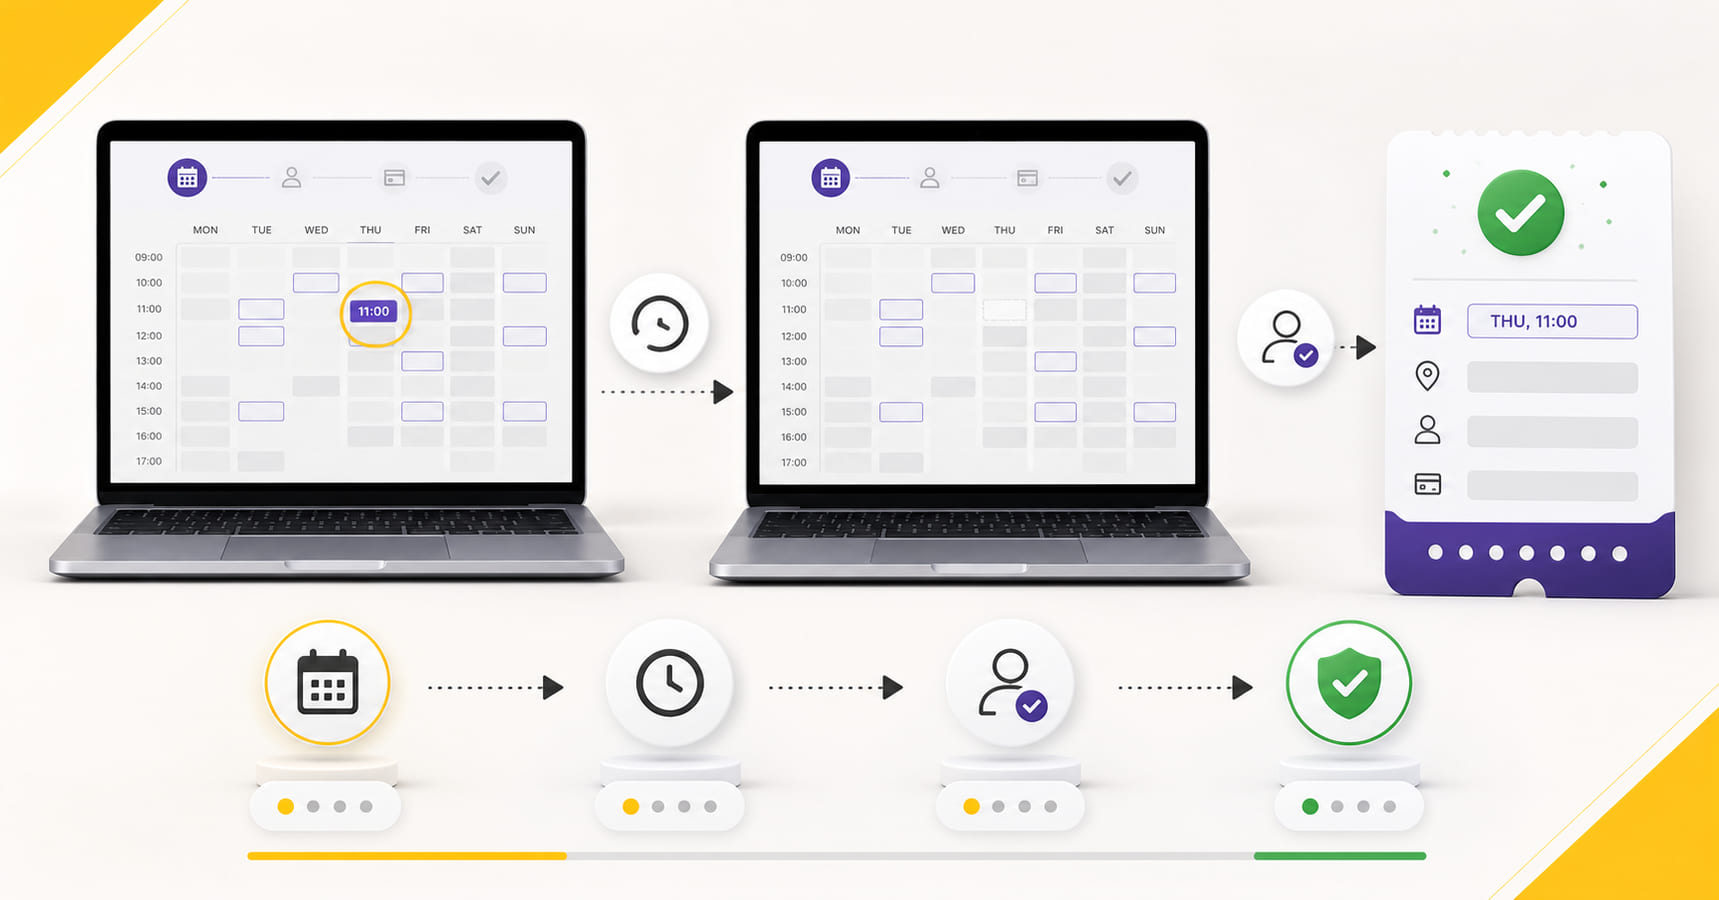
The appointment is not yours until the order is complete and the booking appears in myPTE.
Checking Only the City
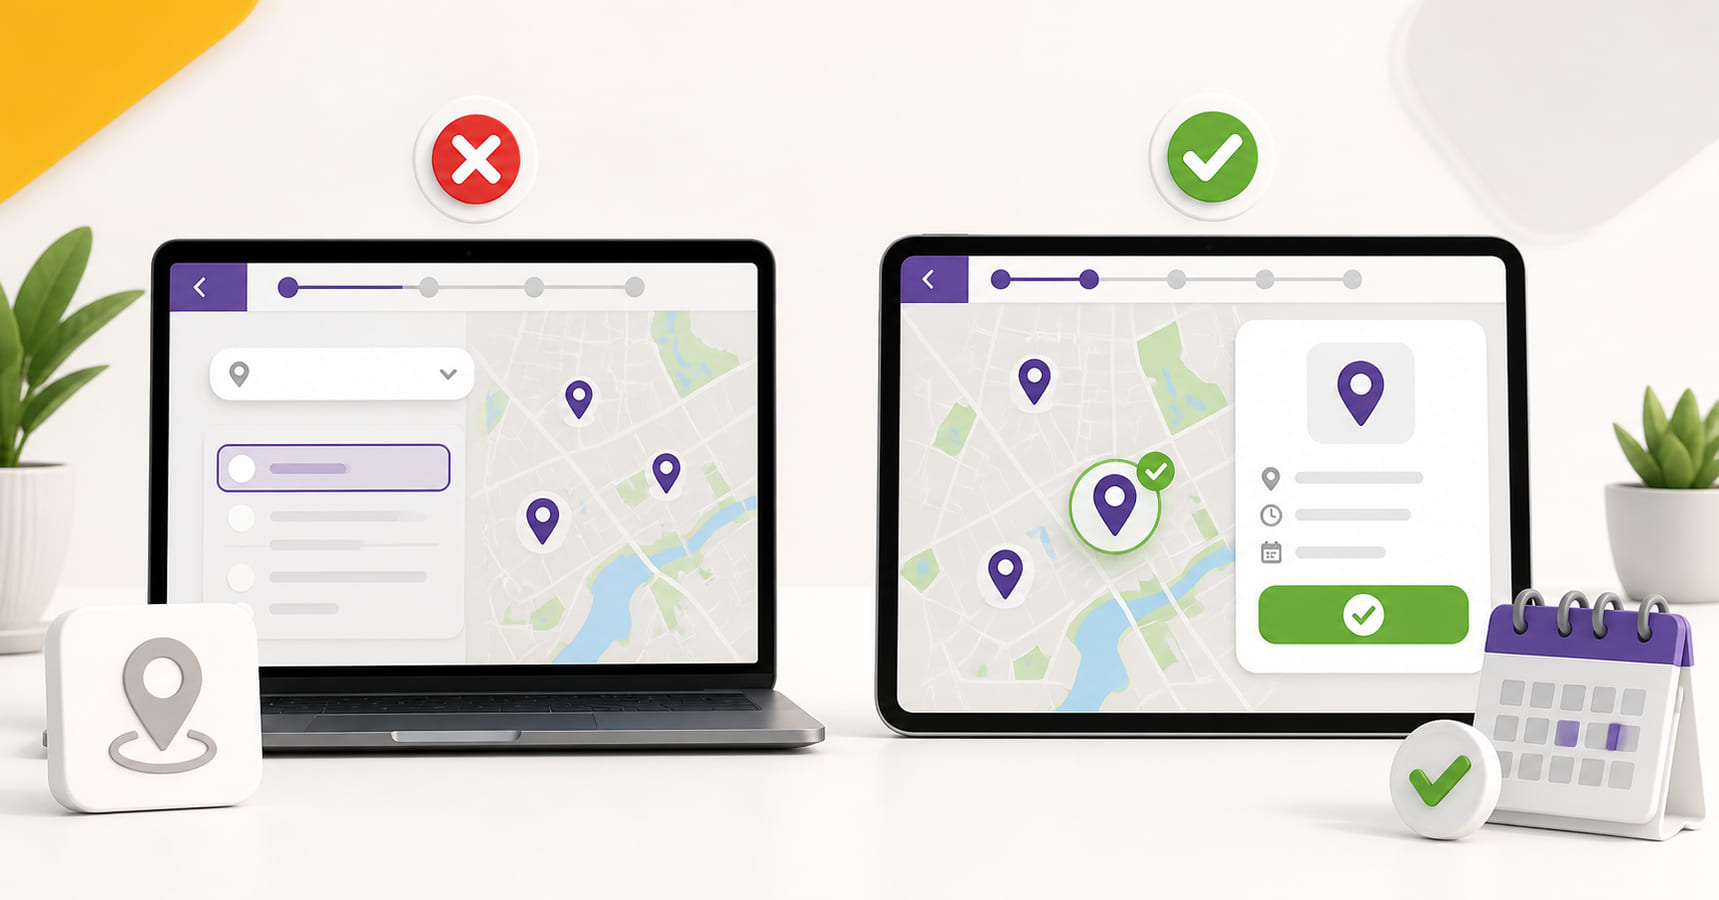
Save the complete centre name and address. A city can contain several test centres.
Forgetting to Select the Time
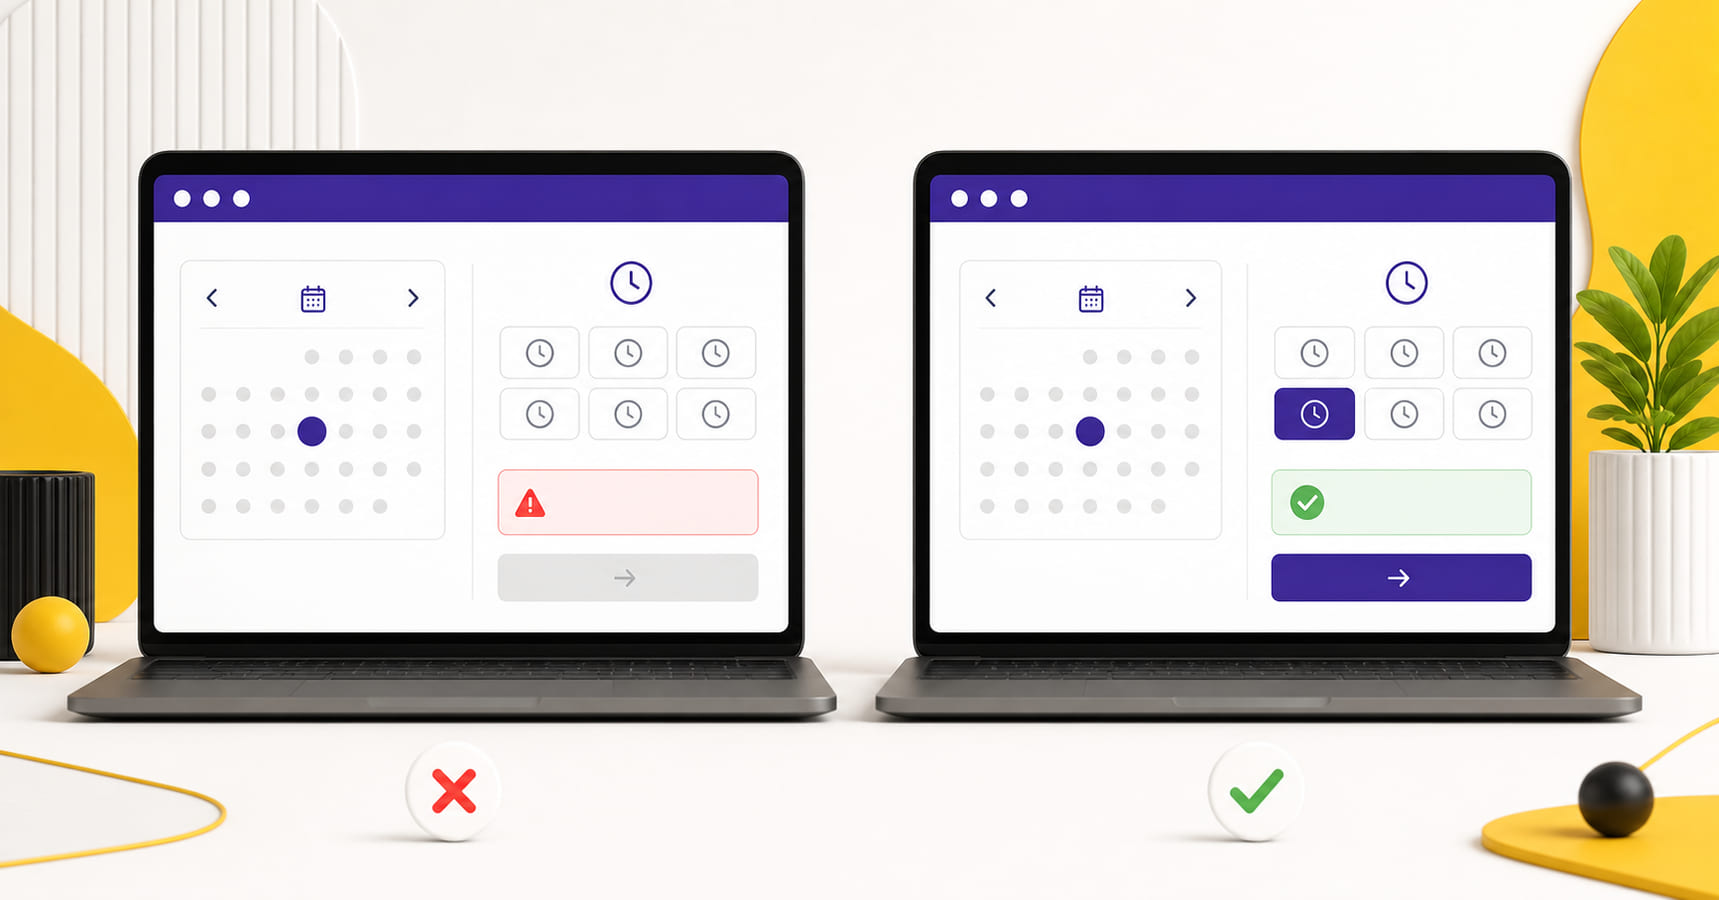
A date alone is not a complete slot. Check the session time and AM or PM format.
Paying Twice After a Delay
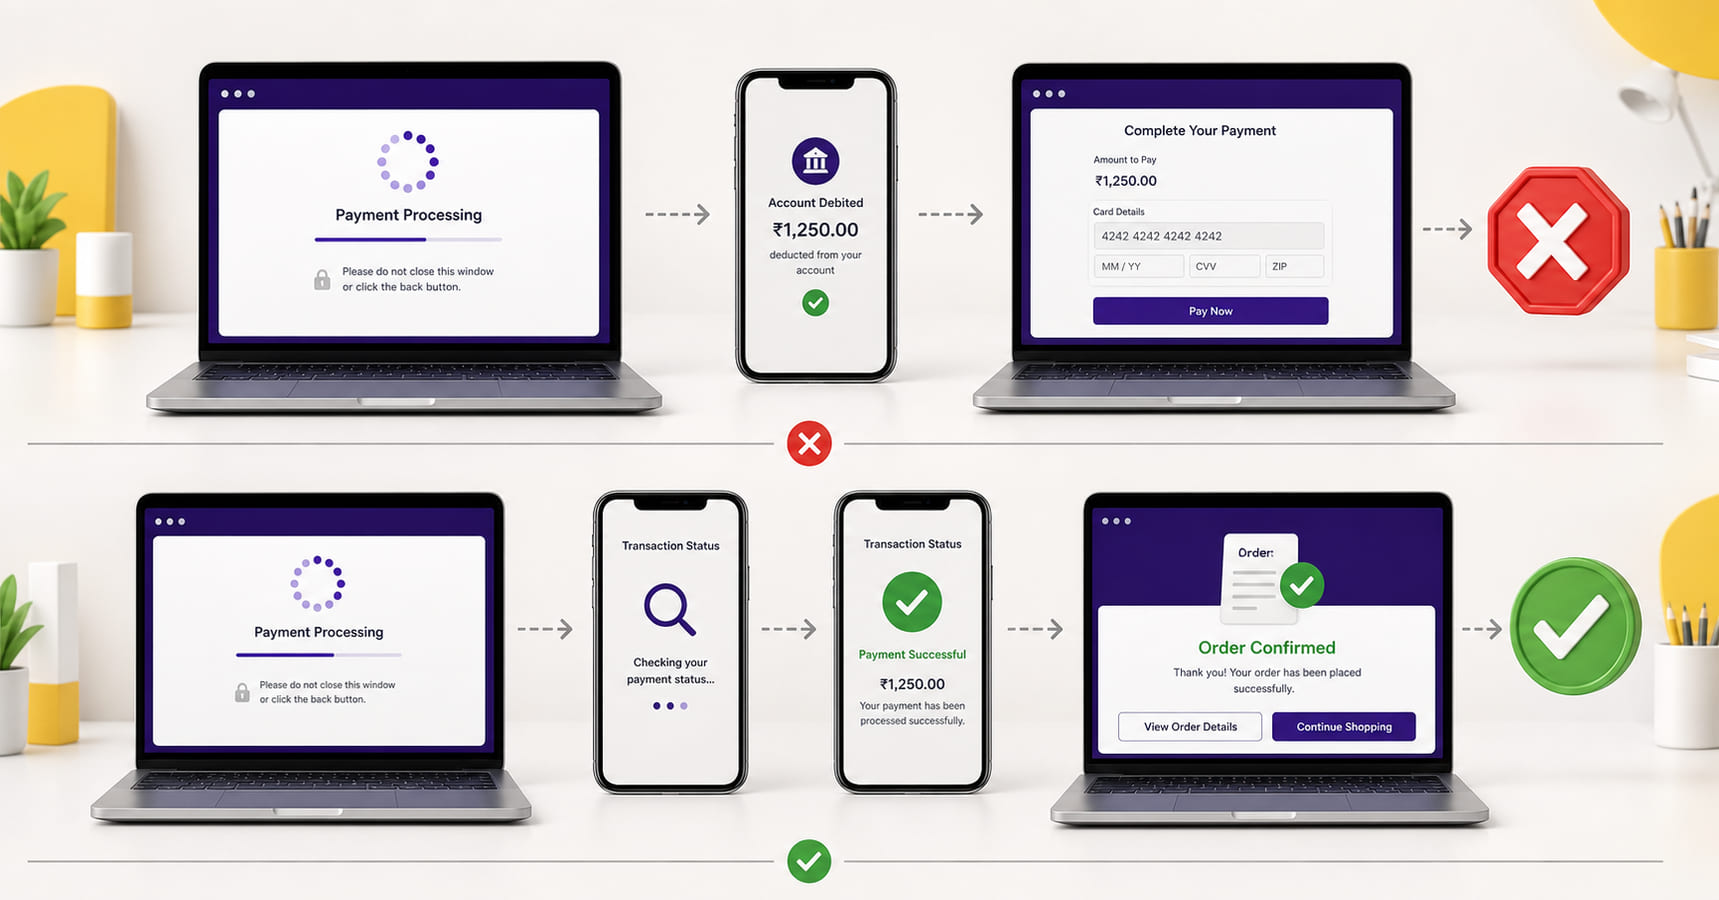
Check the first transaction before trying again. A second payment creates another order instead of fixing the first one.
Skipping the Final Review
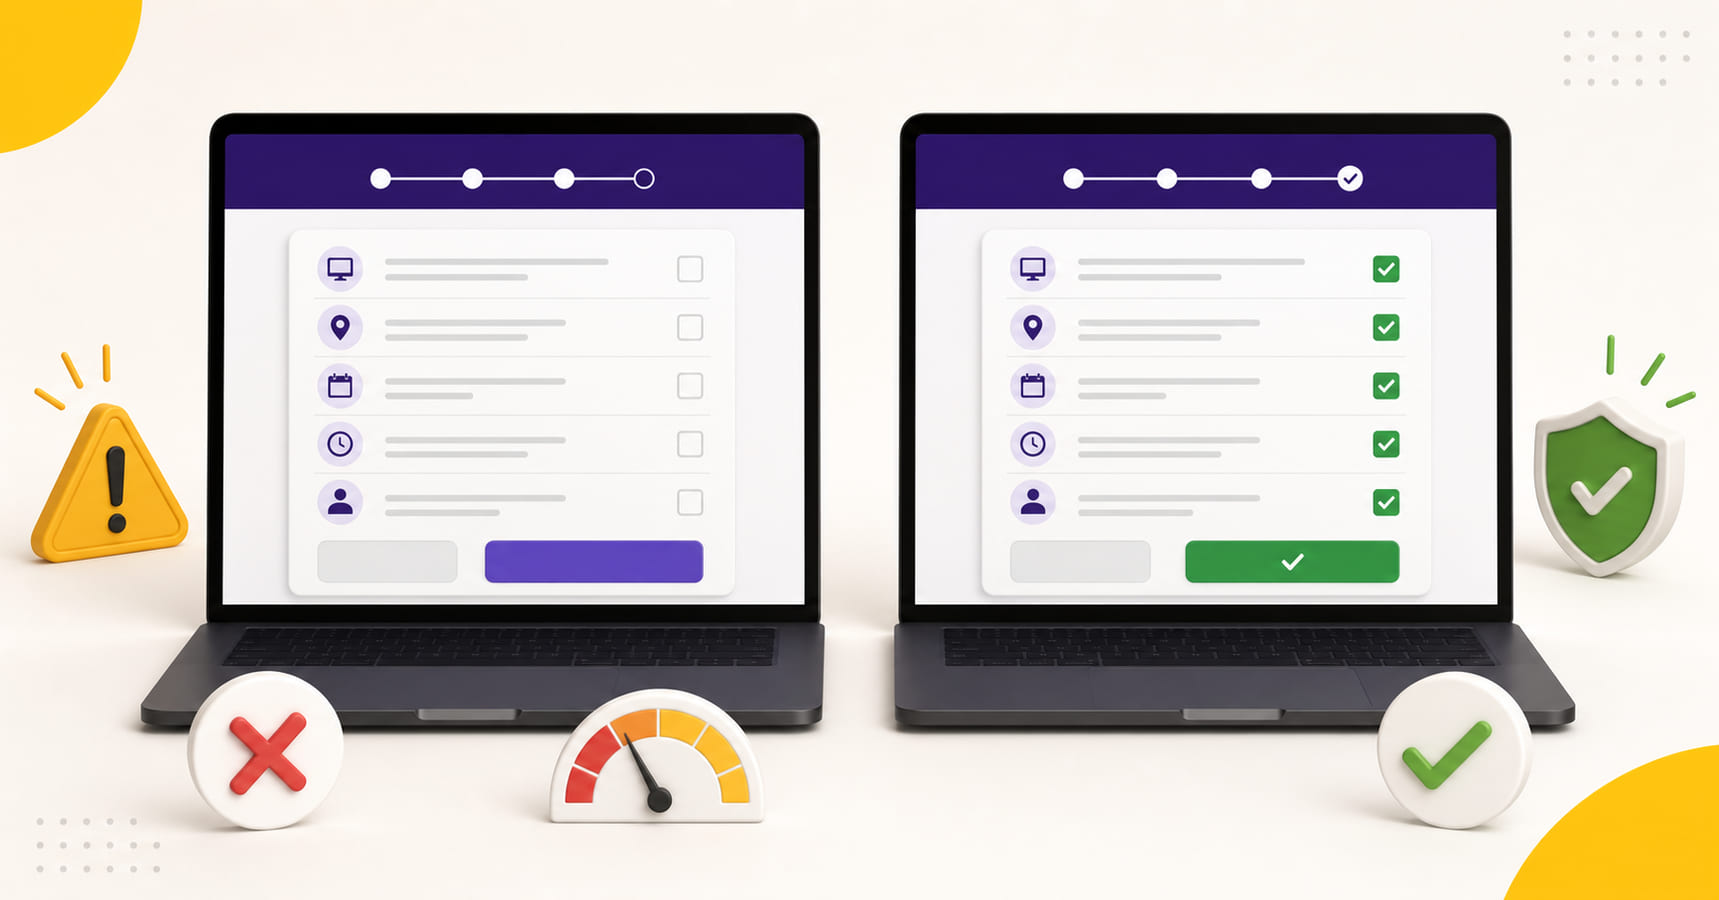
Read every appointment detail before submitting or approving the booking.
PTE Exam Booking FAQs
How can I book a PTE exam online in India?
Open Pearson’s official booking page, choose the correct PTE test, find a centre, select the date and time, review the choice, create or sign in to myPTE, confirm the identity and contact details, answer the booking questions, accept the policies, review the order and complete the payment. You can also use our automated booking when you want us to complete the appointment after you approve the details.
How can I check PTE exam dates before paying?
Use the official appointment search for PTE Academic, PTE Academic UKVI or PTE Core. Search by city, open the calendar for the exact centre and check both the date and time.
Do I need a myPTE account to book the exam?
Yes. The appointment is connected to the candidate’s myPTE account. Create only one account and make sure its name matches the valid passport you will present on test day.
Can I choose my preferred PTE test centre and time?
Yes. Select the centre, date and available time during direct booking. When using our automated service, enter your exact preference in the booking form sent after payment.
How long does our system take to book a PTE exam?
Our 24/7 automated process completes the booking in about 60 seconds when the required payment, account information and slot preference are ready.
What details does our booking form ask for?
It asks for the PTE test type; one myPTE account option; preferred centre; preferred exam date; preferred time; and an unavailable-slot instruction. The account option can be myPTE username and password, or PTE ID and date of birth.
Can I book without sharing my myPTE password?
Yes. Choose PTE ID and date of birth. You must accept the connection invitation inside myPTE and confirm that action in the same booking form. Read why PTENOTE offers both myPTE connection options before choosing.
Is PTE slot booking complete after payment?
No. Payment and appointment confirmation are different. The booking is complete when the appointment appears in the candidate’s myPTE account.
Can I use a PTE voucher to pay?
Yes, when the voucher is valid for the selected test, booking country, exam value and date. Apply the eligible code during Pearson checkout.
What if my preferred slot disappears?
During direct booking, select another suitable live option. In our automated process, the unavailable-slot instruction you selected in the form controls what happens next.
Can someone else pay for my PTE booking?
The payer and candidate can be different people. The booking still uses the test taker’s myPTE account name, so the candidate must check that it matches their own passport.
How do I know the booking is genuine?
Keep the payment record and confirmation, then check that the correct appointment appears in the candidate’s myPTE account.
Conclusion
You can make PTE exam booking simple by taking one decision at a time. Choose the correct test. Check a live centre, date and time. Use one accurate myPTE account. Review the order. Pay only after the details are correct. Finally, confirm that the appointment appears in myPTE.
Book directly through Pearson when you want to complete every step yourself. Use our automated booking service when you want to submit your appointment choices and approve the details before our system completes the booking.
If you do not want to share your myPTE password with us, choose the PTE ID and date-of-birth option. Read our full account-connection explanation first, then choose the route you understand and feel comfortable using.
When you are ready, check the current packages and book your PTE exam through PTENOTE.