
Key Takeaway
- You answer 3–4 PTE Core Describe Image questions.
- You have 25 seconds to study each image and 40 seconds to speak.
- Your response receives partial credit for Content, Pronunciation, and Oral fluency.
- Plan four parts: the subject, the main point, key details, and a clear closing idea.
- Use a flexible method, not a memorized script that ignores the image.
You see a new image and have 25 seconds to plan. What can you say in the next 40 seconds?
PTE Core Describe Image asks you to study an image and explain it aloud. You do not need a special template. You must pick key facts, put them in order, and speak clearly in one recording.
This guide gives you a practical way to do that. You will learn the current rules and three score areas. You will also get a clear method, a short practice plan, and three examples.
If you are still learning the full test, read our PTE Core exam format guide first. It shows where Describe Image appears in the Speaking & Writing part.
What Happens in PTE Core Describe Image?

Pearson lists Describe Image as a speaking task. Pearson gives partial credit. This means a partly correct answer can still receive some points. You answer 3–4 questions in the test.
| Part of the task | What to expect |
|---|---|
| Questions | 3–4 |
| Preparation time | 25 seconds |
| Response time | 40 seconds |
| Skill assessed | Speaking |
| Scoring | Partial credit |
| Recordings | One response for each image |
During the 25 seconds, look at the whole visual and decide what to say. When the preparation time ends, you hear a short tone. Start speaking after that tone because speech before the microphone opens is not recorded.
The recording status box shows when the microphone is on. Finish before the progress bar reaches the end. Pearson warns that three seconds of silence can close the recording. Start soon after the microphone opens.
You can write short notes in the erasable noteboard booklet. Pearson provides this booklet at the test centre. Write keywords, not full sentences. Keep your eyes on the key parts of the image, not on a long script.
How Is PTE Core Describe Image Scored?
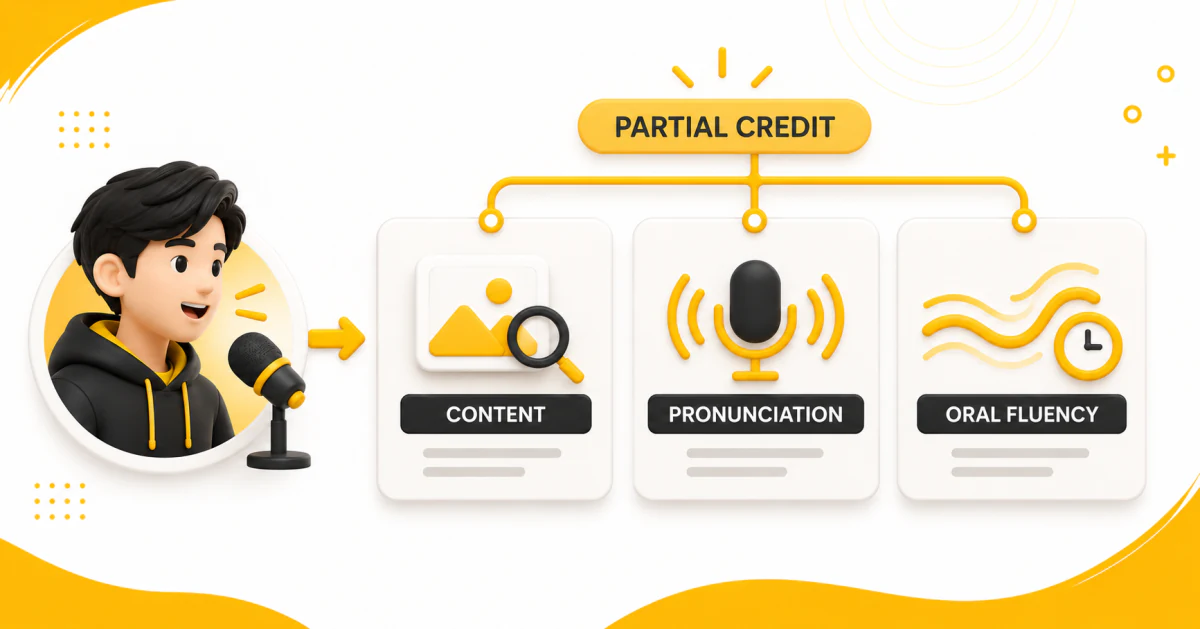
Pearson scores three areas: Content, Pronunciation, and Oral fluency. The current PTE Core Score Guide uses a 0–5 scale for each area. Check all three when you practise.
Content: Did you explain the key parts and their links?
Content is not a count of the objects you name. A strong answer links the key parts. It then says what those parts show as a whole.
The current descriptors can be understood like this:
| Content level | Plain-English meaning |
|---|---|
| 5 | Covers all parts and their links. When the image supports it, the answer adds a useful end point, result, or meaning. |
| 4 | Covers all key parts and links. It refers to a useful end point or meaning. |
| 3 | Covers most key parts. It refers to an end point or meaning. |
| 2 | Covers one key part and gives an end point or meaning. It also shows a basic grasp of several main parts. |
| 1 | Covers some basic parts, but their links or meaning are not clear. |
| 0 | Gives ideas that do not link or fit the image. A large amount of memorized text can also fail here. |
An implication means what the facts suggest. If a chart shows far more cars than bikes, you could say that motor travel is more common in that group. Do not add a cause that the chart does not show.
An answer that does not fit the image gets no credit. A fixed script can sound smooth but say little about the image.
Pronunciation: Can regular English speakers understand you?
Pronunciation means clear speech. You do not need to copy one accent. Pearson accepts regional and national forms of English when regular English speakers can understand them.
Say each word clearly. Use stress where it helps the meaning. Make word endings easy to hear. In the test, pick words that you know and can say well.
Oral fluency: Does the response move smoothly?
Oral fluency means smooth flow. Pearson checks rhythm, phrasing, and steady speech. Too many pauses, repeats, false starts, or speed changes can hurt the flow.
Fluency does not mean speaking as fast as you can. Pearson tells students to speak clearly and not rush. Use short groups of words. Pause between ideas, but avoid a long silence.
How Can You Use the 25 Seconds and Speak for Up to 40 Seconds?
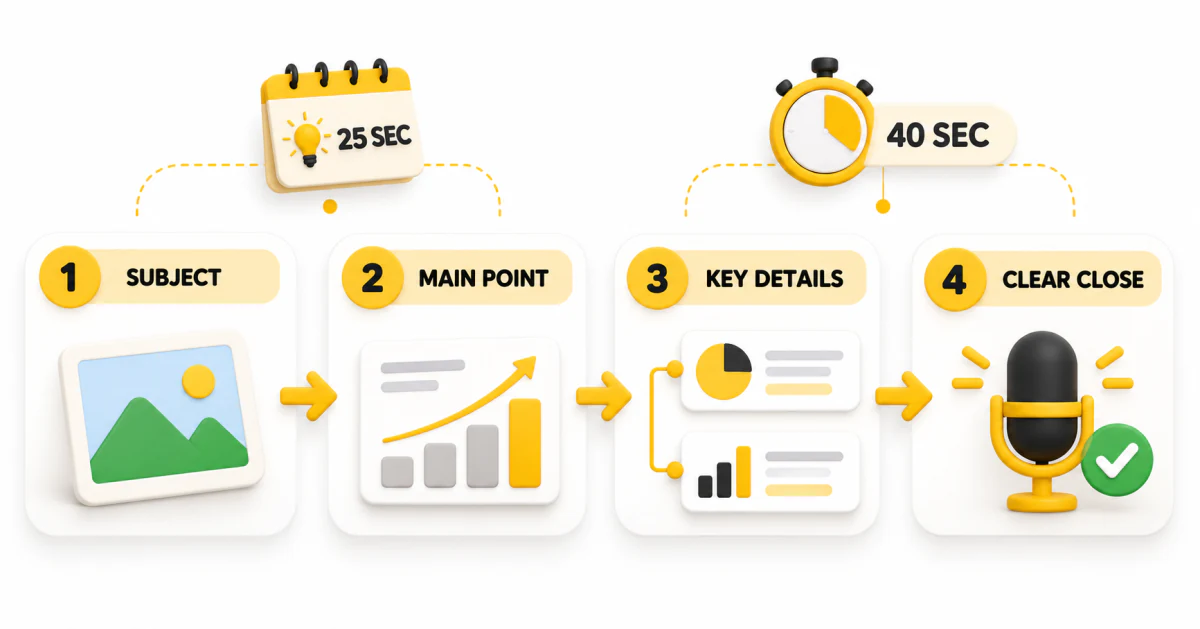
Use the 25 seconds to make a short plan. Then follow that plan in order. This is our practice guide, not a Pearson script.
Step 1: Identify the subject
Ask: What am I looking at?
Name the type of visual only when that helps. For example:
- “The bar chart compares three ways of commuting.”
- “The diagram shows a plastic-bottle recycling process.”
- “The photograph shows people working in a community garden.”
Keep the opening clear and short. Do not spend half the response listing every label or object.
Step 2: Find the main point
Ask: What stands out most?
For a chart, find the highest and lowest groups. Look for a big change or gap. For a process, find the first step, last step, and arrow path. For a photo, find the main task and place.
Use the main point as a filter. Choose only small details that support it.
Step 3: Choose two or three key details
Pick details that support the main point. Good choices often include:
- a clear contrast,
- a clear link,
- a key stage,
- a contrast between groups, or
- a detail that explains the setting or action.
Do not make up numbers, names, places, or causes. If a number is hard to read, describe the pattern you can see. Use clear facts instead of a risky guess.
Step 4: End with a clear closing idea
Your last line can sum up the trend, end the process, or give a careful meaning. Use only what the image shows.
For example: “Overall, the chart shows that motor travel is more common.” This ends the answer without adding a reason.
A simple way to divide the preparation time
Try this split during practice:
- First 5 seconds: identify the subject and visual type.
- Next 8 seconds: find the main point.
- Next 8 seconds: choose two or three key details.
- Final 4 seconds: decide how to begin and end.
This is a practice tool, not an official timing rule. Adjust it when you discover where you need more time. The goal is to begin the recording with a plan, not to memorize exact sentences.
Useful linking language
Keep your links simple and accurate:
- “The main feature is…”
- “In comparison…”
- “This is followed by…”
- “Meanwhile…”
- “Another visible detail is…”
- “Overall…”
Use these phrases to link ideas. They do not replace image content. Choose only the ones that match the visual.
What Do Strong Describe Image Examples Look Like?
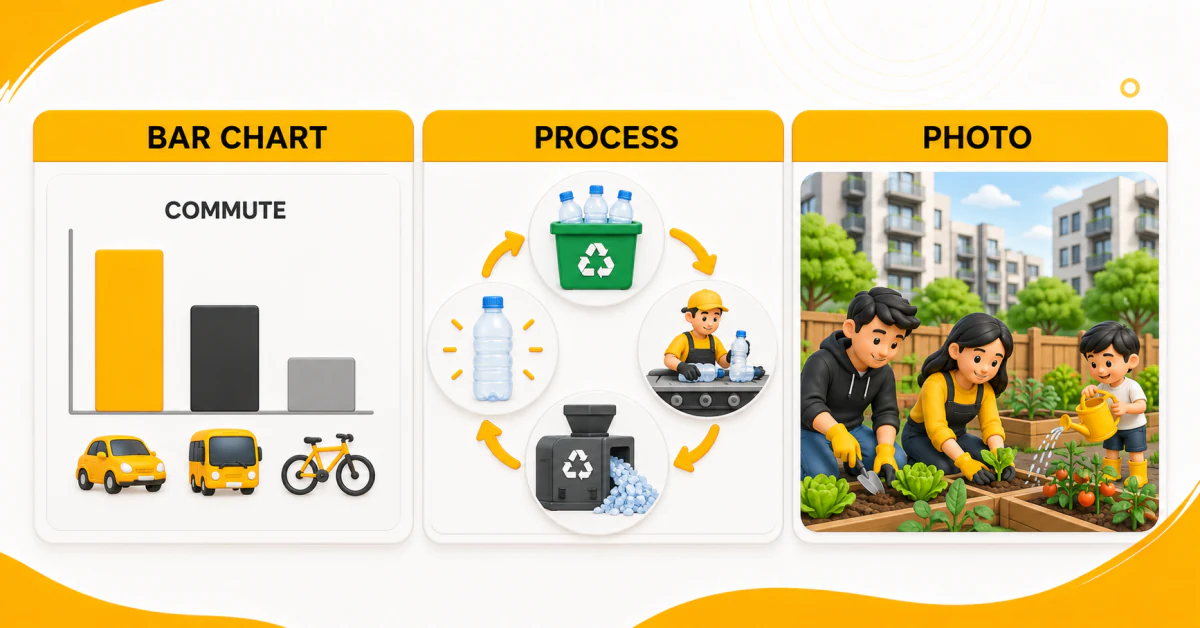
We made the images and sample answers below for this guide. They are not Pearson questions or test predictions. Do not memorize them. Each answer uses the same four steps, but the words fit its image.
Example 1: Bar chart
The chart compares commuting by car, bus, and bicycle. The bars do not show readable numbers. Compare their visible heights without making up data.
The bar chart compares three ways of commuting: car, bus and bicycle. The main pattern is that travelling by car is the most common choice, while cycling is the least common. Bus use sits between these two categories. The difference between cars and bicycles is clearly larger than the difference between buses and bicycles. Overall, the chart shows a strong preference for motorized transport, especially cars.
Why it works: the answer names the subject and gives the main order. It then makes a clear contrast and sums up the chart. It does not guess any numbers.
Example 2: Process diagram
The second panel presents a recycling loop. Follow the arrows as you explain each step.
The diagram shows how plastic bottles can be recycled. First, used bottles are collected in a recycling bin. Next, workers sort them on a processing line. The selected plastic is then broken into small pieces for further processing. Finally, the material is used to produce a new bottle, which can enter the cycle again. Overall, the image presents recycling as a repeated four-stage process.
Why it works: the answer follows the arrow path and names each stage. It also makes clear that the steps form a loop.
Example 3: Photograph
The third panel is a scene rather than a data display. Begin with the main activity, then add people, objects, and setting.
The photograph shows a family working together in a community garden beside apartment buildings. Two adults are planting vegetables in raised wooden beds, while a child waters a young plant. The garden contains leafy vegetables and tomatoes, and the people appear focused on caring for the plants. Overall, the scene highlights cooperation, outdoor activity and food growing in an urban neighbourhood.
Why it works: the answer moves from the whole scene to small details. Its last idea stays close to the actions in the photo.
These samples are not target word counts. In practice, use a timer and say only what you can deliver clearly within the recording time.
How Should You Practise and Review Your Recordings?

Use a timer and record yourself. You can complete a focused session in about 15 minutes:
- Choose one image and plan for 25 seconds. Write only a few keywords.
- Record one response for up to 40 seconds. Do not stop and restart midway.
- Review it once for Content. Did you state the subject, main point, and connected details?
- Review it again for Pronunciation. Which words are hard to understand?
- Review it once more for Oral fluency. Where did you repeat, rush, hesitate, or pause for too long?
- Choose one correction and retry. Do not try to repair ten things at once.
You can also review our PTE mock tests when you plan your practice. Check the live page for current test types before you choose a test.
A three-question review grid
After each recording, answer these questions:
| Review area | Question to ask | One possible action |
|---|---|---|
| Content | Did I link the key parts? | Replace a list with one clear contrast or link. |
| Pronunciation | Could a regular English speaker understand each key word? | Repeat one unclear word slowly, then use it in a sentence. |
| Oral fluency | Did my ideas move without frequent stops and restarts? | Practise shorter thought groups with a natural pause between them. |
Keep a small practice log. Write the image type, one problem, and the change you will test next time.
Common mistakes to remove
- Reading a memorized speech: it can miss the image and weaken Content.
- Listing details without links: say which group is higher, what comes next, or what people are doing together.
- Inventing numbers or reasons: describe the visible evidence instead.
- Trying to mention everything: select the main point and a few useful details.
- Speaking too fast: clear pronunciation and smooth phrasing matter more than speed.
- Waiting in silence: start after the tone and avoid a three-second silence.
- Correcting every small error aloud: repeated restarts can interrupt your flow. Continue when your meaning remains clear.
- Using the same closing sentence for every image: make the ending fit the visual.
Frequently Asked Questions
How many Describe Image questions are in PTE Core?
Pearson's current PTE Core information lists 3–4 Describe Image questions.
How much preparation and speaking time do I get?
You have 25 seconds to study the image and 40 seconds to record your response.
Which skills are scored?
Describe Image assesses Speaking. Pearson gives partial credit for Content, Pronunciation, and Oral fluency.
Should I use a Describe Image template?
Use a flexible structure, not a full memorized answer. A useful structure is subject, main point, key details, and a clear close. Change the language for the image in front of you.
Do I need a native accent?
No. The Pronunciation rules ask if regular English speakers can understand you. Pearson accepts regional and national forms of English when the speech is clear.
What happens if I stay silent?
Pearson warns that three seconds of silence can close the recording. Begin after the tone and keep moving through your planned ideas.
Should I describe every detail?
No. Pick the main idea, key links, and a few facts. Give a clear answer, not a long list.
Can I take notes?
Yes. Pearson's test tips recommend using the erasable noteboard booklet to write key ideas and phrases during preparation.
Conclusion
PTE Core Describe Image becomes more manageable when you stop searching for one perfect script. Use the 25 seconds to find the subject, main point, and two or three connected details. Then speak in a clear order and finish with an idea the visual supports.
Check Content, Pronunciation, and Oral fluency one at a time. Fix one problem, then record again. Keep each answer tied to the image. You can use the same four steps for charts, processes, photos, and other images.